If you want to learn how to draw roses, I’m sharing some beautiful ideas and drawing tutorials to check out.
Below I’ve included realistic rose drawings, rose line drawings, simple rose sketches, and more. I’ve also included a few tips for learning how to draw a rose.
Recommended Reading: How to Draw Flowers Step-by-Step Tutorials
Yes, You Can Draw a Rose in Three Steps
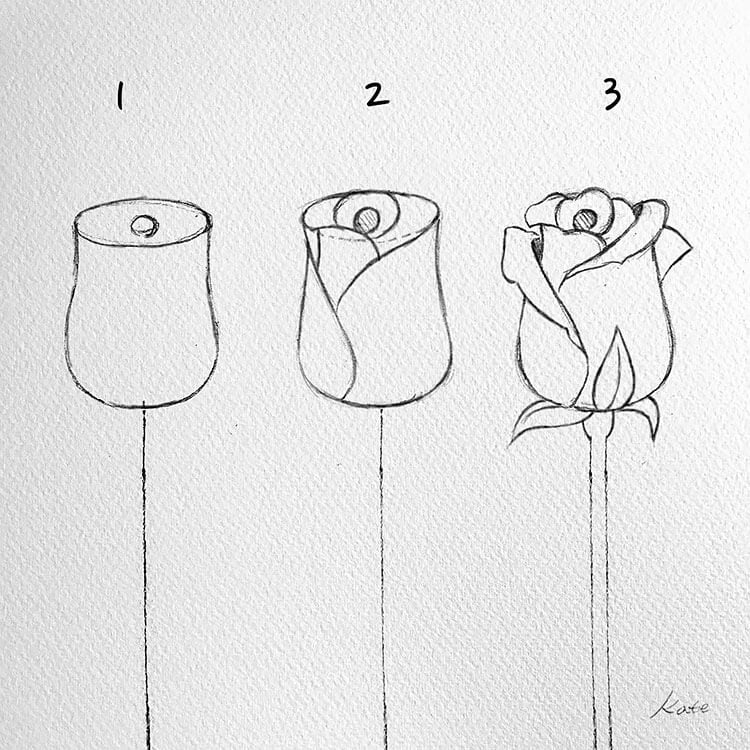
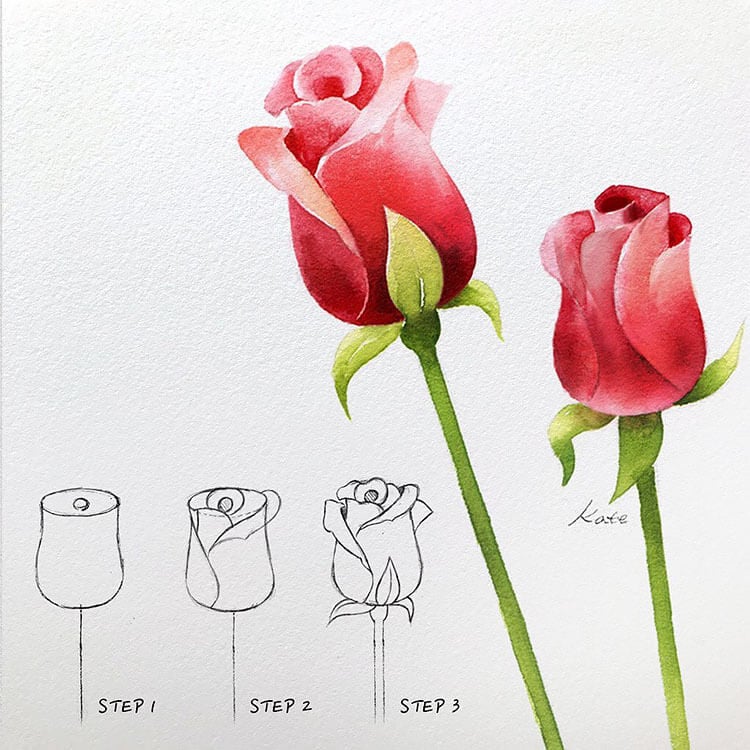
What I like about the tutorial below is that it shows us how easily a rose can be drawn in just three steps.
If you like this tutorial style, I highly recommend checking out the artist Kate Kyehyun Park. Kate specializes in creating beautiful botanical watercolor art.
*This post may contain affiliate links.
How to Draw a Rose in Nine Steps

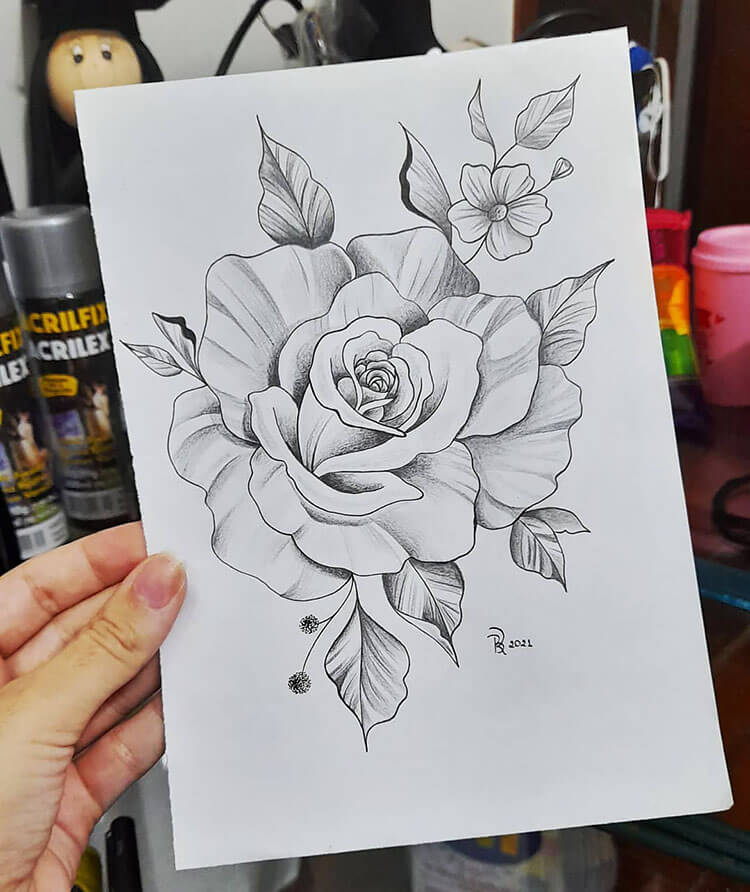
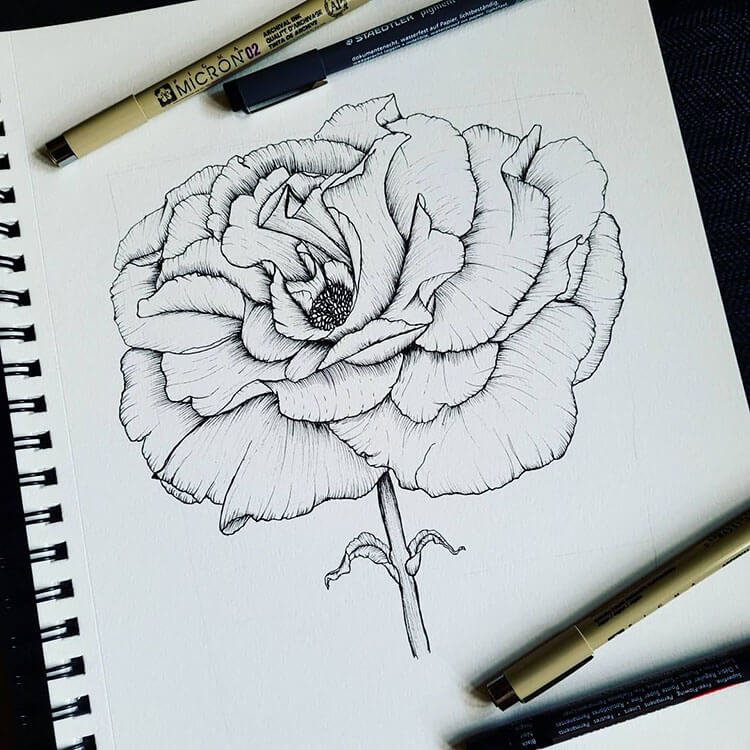
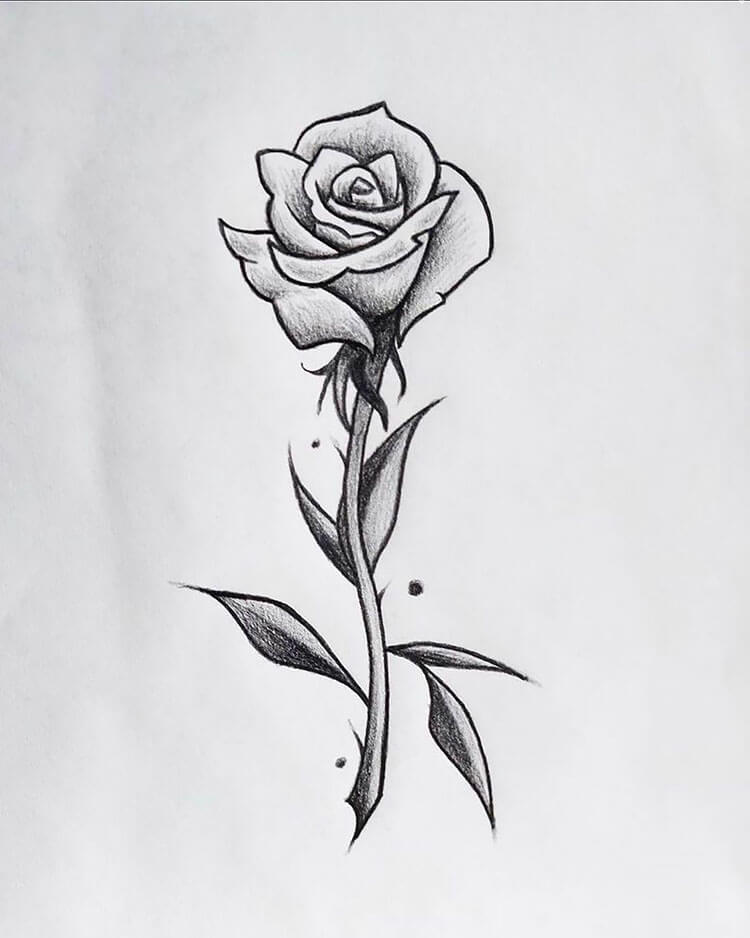
This detailed tutorial shows you how you can create a realistic rose in nine steps. One of my biggest tips for drawing a rose is to keep your hands loose when sketching the petals.
How to Easily Sketch a Rose

Here’s another awesome sketch that shows you how to draw and eventually add watercolor paint to your flower drawing. If you want to add color to your rose, you can also use colored pencils, gouache paint, markers, or even acrylic paint.
When sketches are broken down into simple steps such as this, it makes it easier to create a nice looking piece of art.
Why I Like to Use Drawing References
I love to use drawing references. I find that they help me to improve my drawings and paintings. I can see how other artists have tackled a subject by looking at different references.
I can learn new techniques and get ideas for my own work. Plus, it’s just fun to look at all the different ways artists can interpret the world around us.
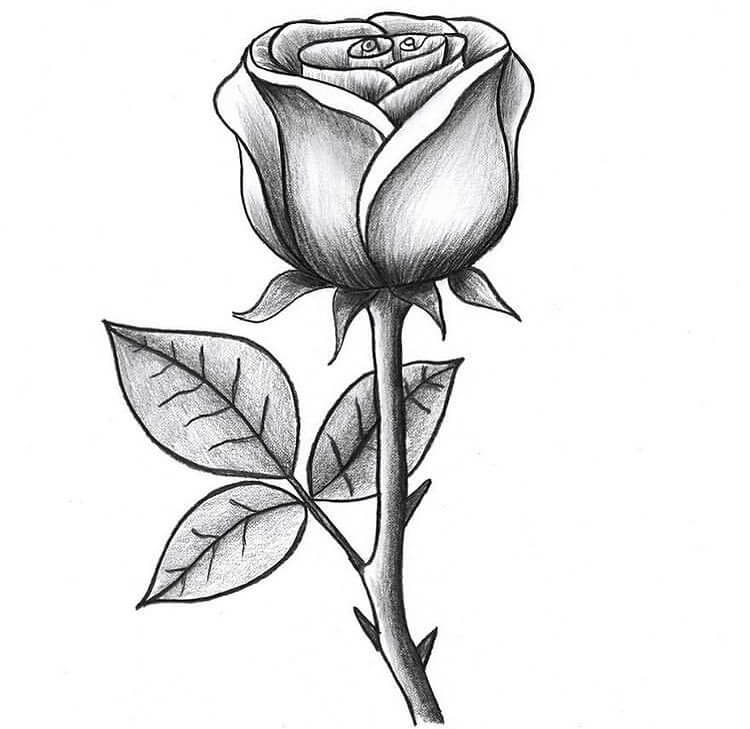
Drawing references can be found in books, on the internet, or even in real life. I often take photographs of things I want to draw so that I can reference them later. Using references is a great way to improve your skills as an artist.
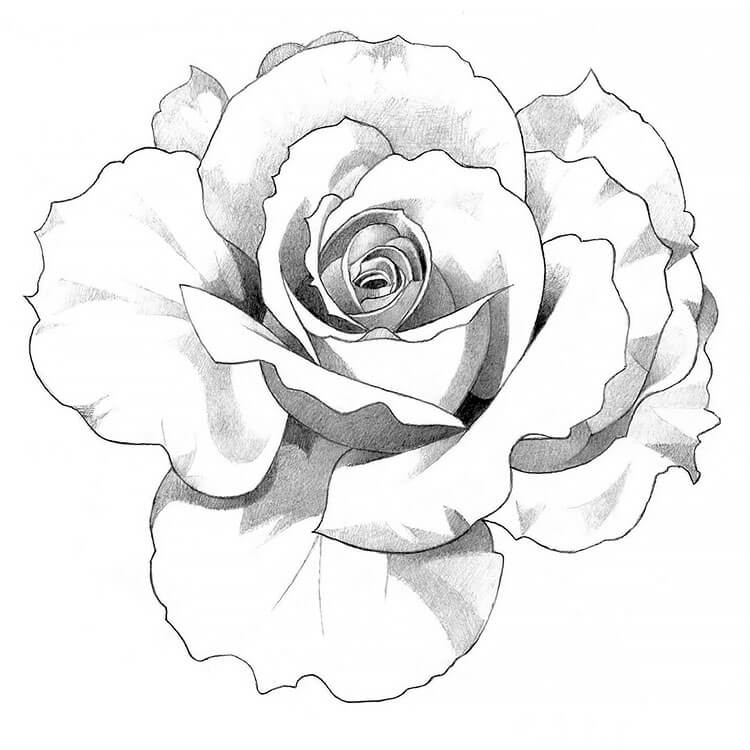
General Advice on How to Draw Roses
When you first notice the number of petals on a rose, the flower can appear intimidating to draw. However, once you break things down step-by-step, it’s not as difficult as it may seem. It may take some time, but it isn’t hard to do.

Regular practice is what will help you get better at drawing roses. So, the next time you see a rose and start to stress about drawing it, follow some of the simple tips I’m sharing throughout this post, and you’ll be an expert in no time.
The first step to drawing a rose is breaking down its main components. This includes paying attention to the number of petals on each flower, as well as their size and shape.
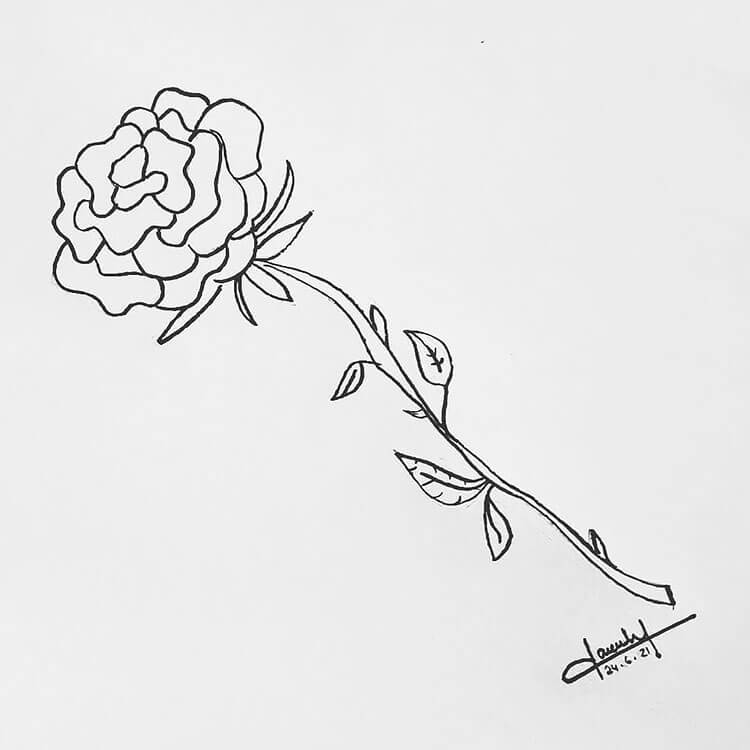
Rose Petals are Arranged Like a Spiral
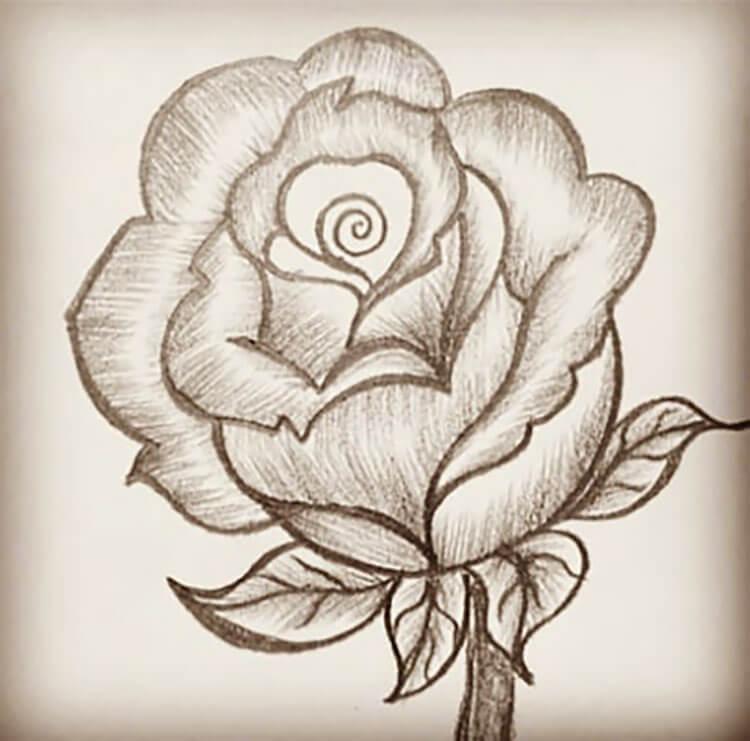
If you look at rose petals, you’ll notice that the petals are arranged like a spiral. They look so elegant because of their smooth, curved edges. You’ll also notice that the large petals are the outermost petals, while the small petals are located towards the center of the flower.
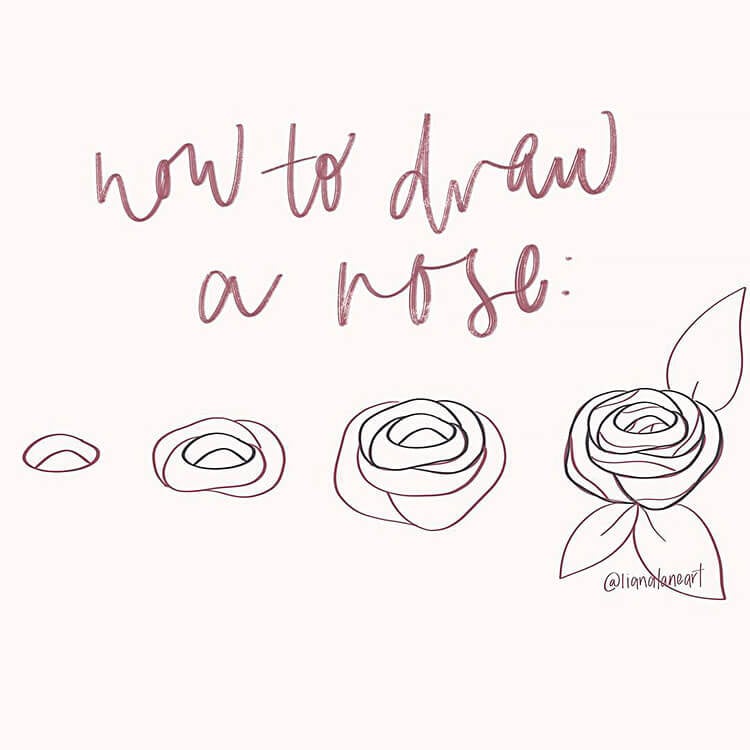
Start with Just a Few Petals
When you first start drawing your rose, start with three or four petals going in a circular shape.
At this point, you can add more petals to the outer or inner part of the flower. Do this until you’ve completed the outer ring of the flower. As you work your way in, the petals should get smaller and smaller. Keep adding petals inside and outside of the rose to give it more volume.

How to Draw a Rose YouTube Tutorials
If you would prefer to watch video tutorials teaching you how to draw a rose, I’m sharing some of my favorite rose drawing tutorials on YouTube below.
- How to Draw a Rose Easy Art Tutorial for Beginners
- How to Draw a Rose In 10 Minutes Step-by-Step Real-Time
- How to Draw a Rose
Using Watercolor for Your Rose
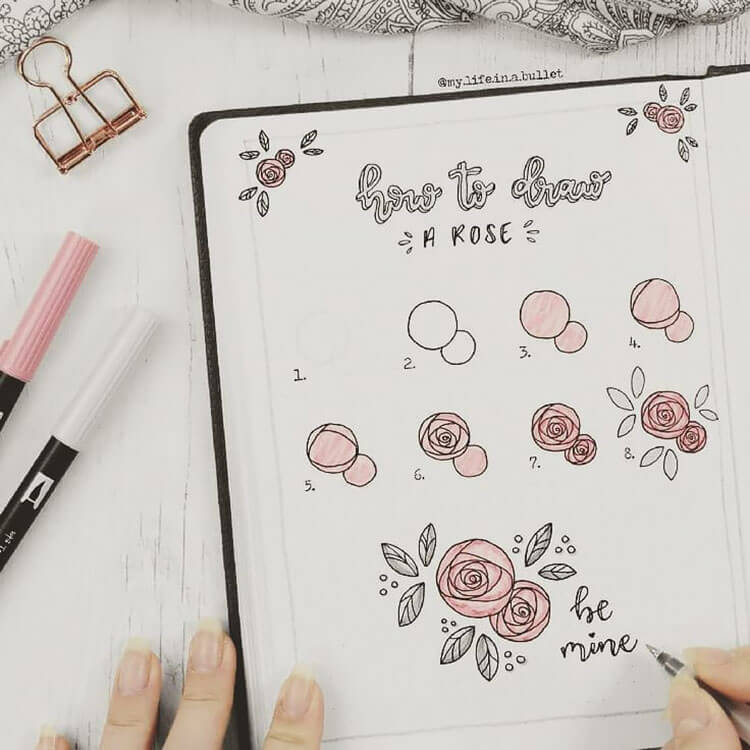
The tutorial below shows us how easy it can be to draw a watercolor rose by starting with a simple circle. It gives us advice on blending out the petals and adding dark areas.
The step-by-step tutorial below uses dual brush pens to create a stunning rose. These pens create a beautiful watercolor effect.

It’s Time to Draw a Rose
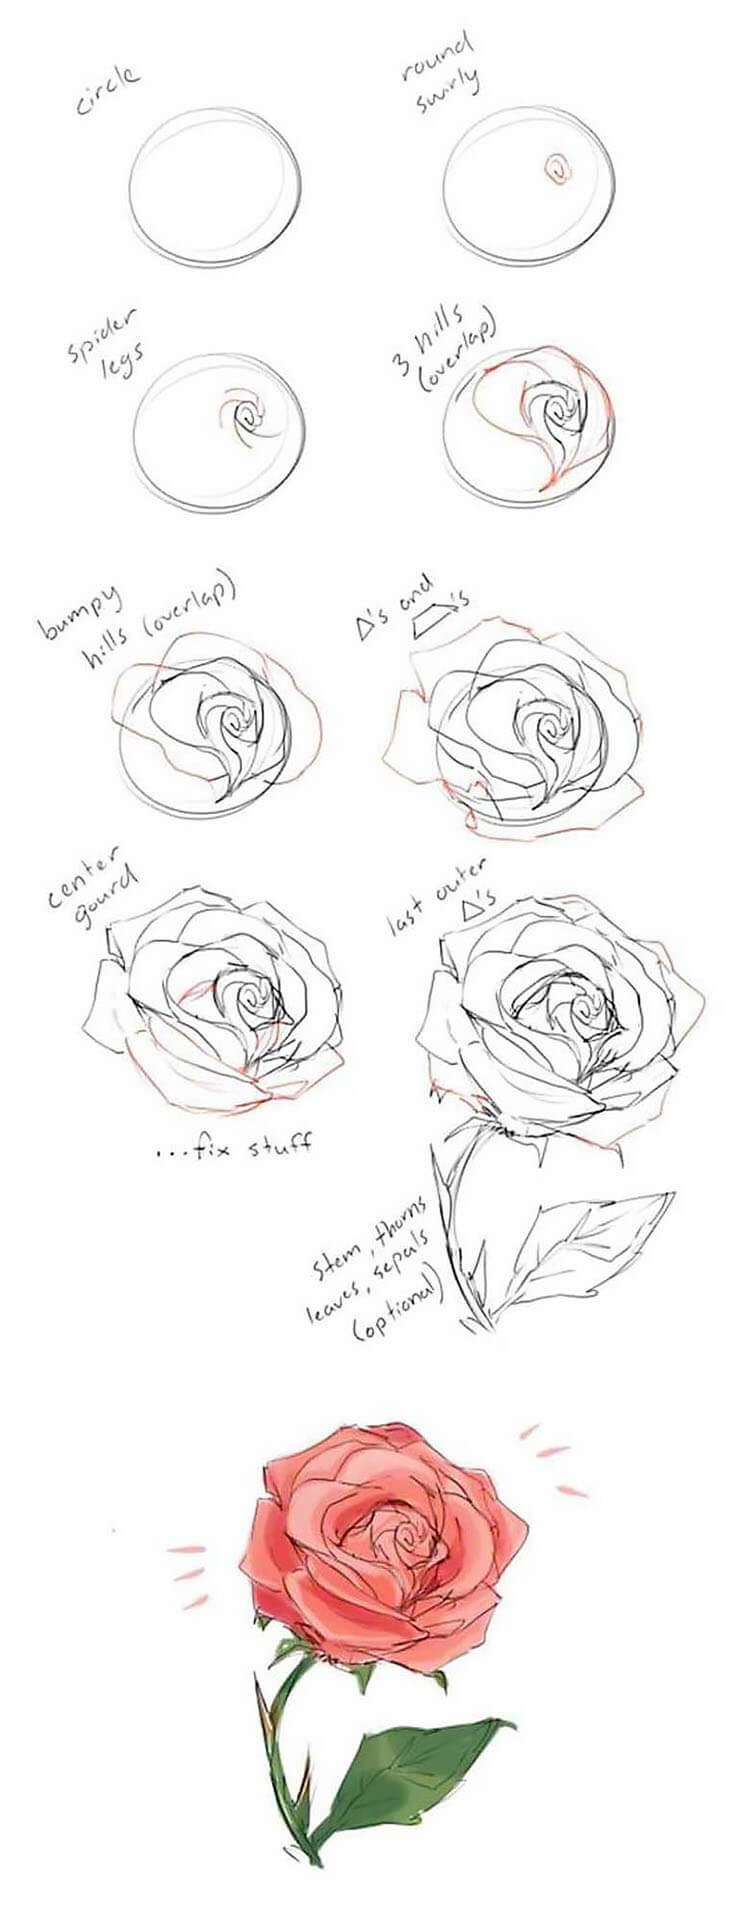
Now that you’ve learned how to draw a rose, it’s time to put what you’ve earned into action. If you take a look at the drawing below, you can see step-by-step how to go about drawing your rose.
It starts with a circle, followed by round swirls. Then spider-style legs are added to the swirls, etc. As you go on, you see how when the steps are broken down; it’s actually not so difficult after all.
I hope you enjoyed learning how to draw roses as much as I have enjoyed sharing these references with you. If you’re looking for more inspiration on drawing flowers, be sure to check out my other posts.
More Posts You May Like:
