
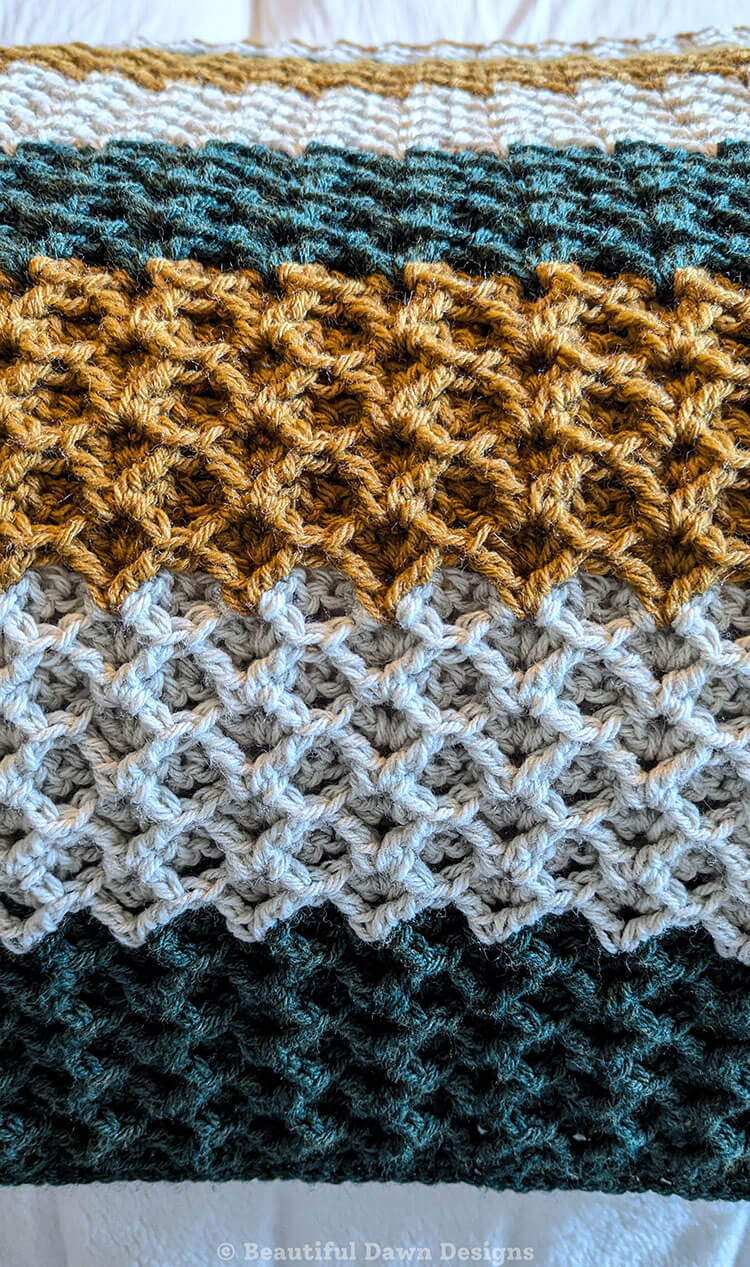
My 3D Diamond Blanket Pattern is finally here, and I couldn’t be happier with how it turned out!
You can find the free pattern below, or you can purchase the ad-free printable PDF from my shop.
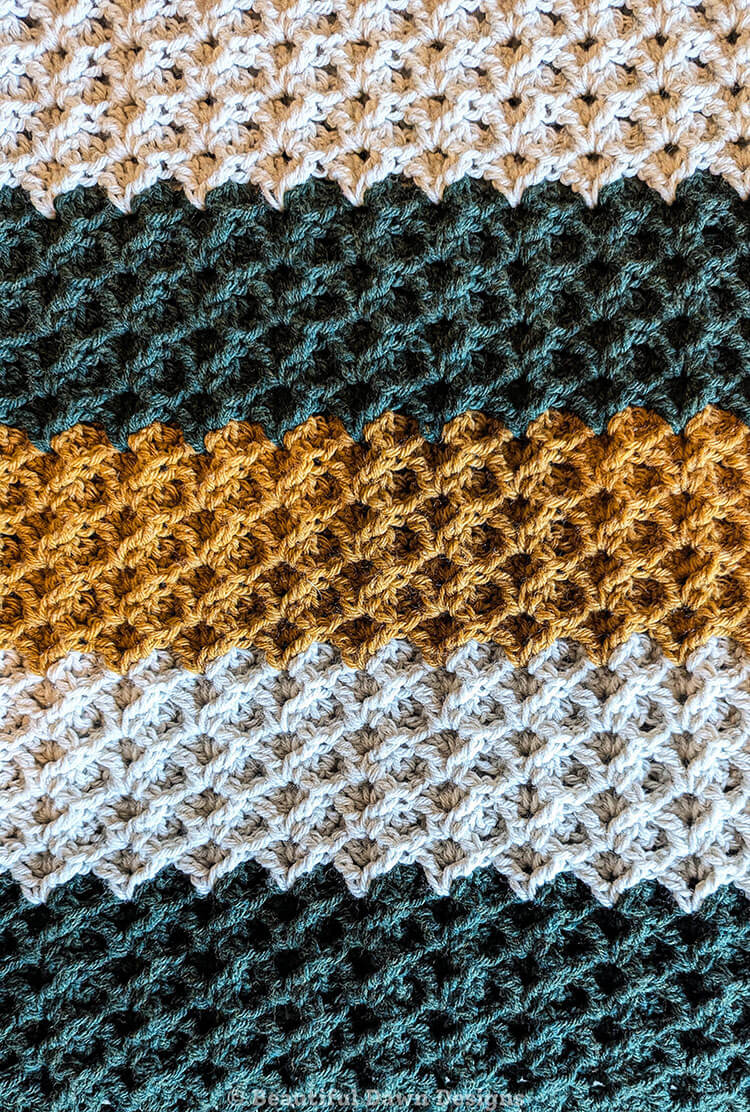
I think this might be my favorite blanket design to date. I absolutely love the beautiful 3D effect created by the diamond texture, and the finished blanket is incredibly soft and squishy.
The raised stitches give it so much dimension, making it just as lovely to look at as it is to curl up with. I’m really happy with how this design turned out, and I hope you enjoy making it as much as I did.
3D Diamond Blanket Sizing Notes
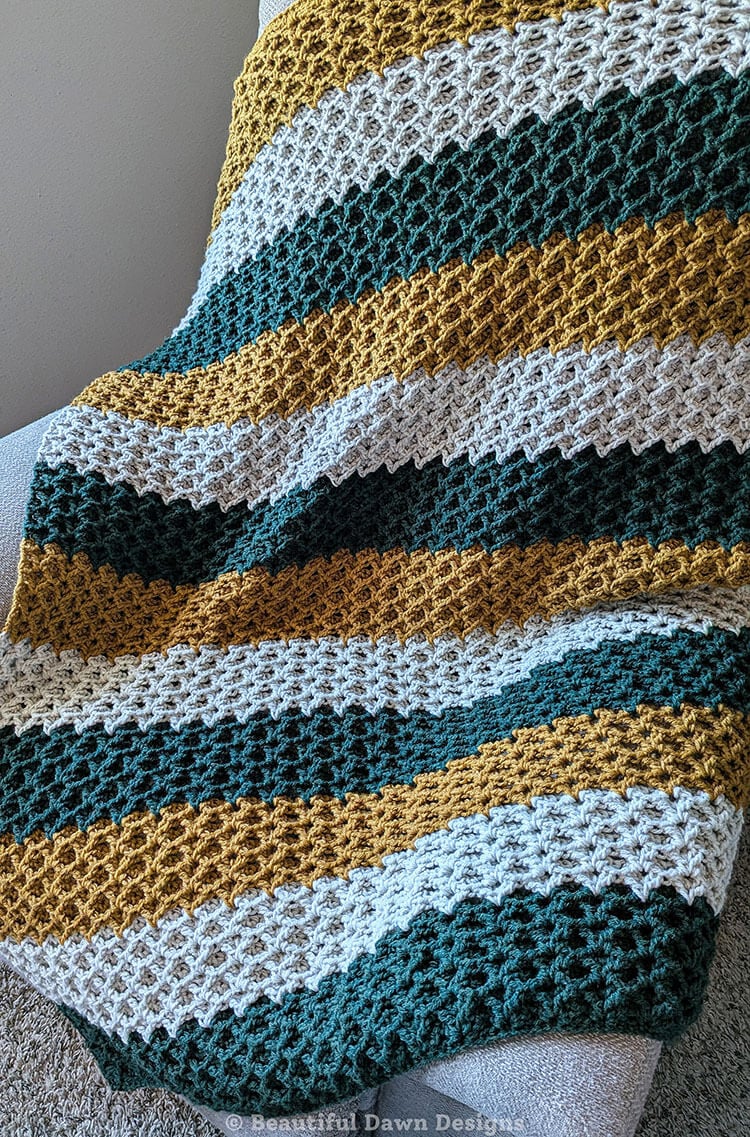
The 3D Diamond Blanket is sized at 36” x 50”, which makes it a nice Lapghan size blanket. Below I’ve included a blanket sizing guide to assist you in finding the right size for your blanket.
Blanket Sizing Guide
- Baby Blanket: 36 x 36 inches
- Toddler Blanket: 40 x 60 inches
- Lapghan: 36 x 48 inches
- Throw Blanket: 48 x 60 inches
- Twin Bed: 65 x 90 inches
- Double Bed: 84 x 90 inches
Skill Level: Intermediate
Materials:
- Lion Brand Wool Ease 197yds #4 worsted weight yarn:
3 skeins Forest Green Heather (Color A), 3 skeins Linen (Color B), and 3 skeins, Arrowwood (Color C). Depending on your tension, you may need 4 skeins of each color. I used almost exactly 3 skeins of each color for my blanket. - US size J 6.0 mm crochet hook
- Scissors
- Tapestry needle
Size (approximate): 36” x 50”
Gauge (4in x 4in): Approximately 3 diamonds horizontally and 4 diamonds vertically
Size Adjustment: To adjust the width of your blanket, start with a longer or shorter chain. The pattern has a chain multiple of 4 plus 2 stitches. When adjusting the size of your blanket, chain in multiples of 4 and add 2 stitches to that. For example, if you were to chain 24, you would then add 2 stitches for a total of 26.
Pattern Notes:
- The chain 2 at the beginning and end of the row does not count as a stitch.
- The v-stitch is made when you (2 dc, ch 2, 2 dc) in the pattern as well as when you (dc, ch 2, dc) in the pattern.
How to Change Yarn Colors in Double Crochet:
Once it’s time to change yarn colors, when working the last double crochet stitch of the row, I recommend doing the following:
- Start your double crochet stitch with your current yarn color.
- Yarn over, insert your hook into the stitch, and pull up a loop. You should have 3 loops on your hook.
- Yarn over and pull through the first 2 loops. You should have 2 loops remaining.
- Switch to your new yarn color. Yarn over with the new color and pull through the remaining 2 loops to complete the stitch.
- Continue crocheting with your new color.
Abbreviations (US):
ch – chain
st(s) – stitch(es)
sc – single crochet
dc – double crochet
tr – triple crochet (also known as treble crochet): Yarn over the hook twice. Insert hook into stitch. Yarn over and pull the stitch through, leaving four loops on the hook. Yarn over and pull through the first two loops. Yarn over and pull through two loops. Yarn over and pull through two loops.
( ) – parenthesis: stitches are all worked in one stitch or space
More Crochet Blanket Patterns


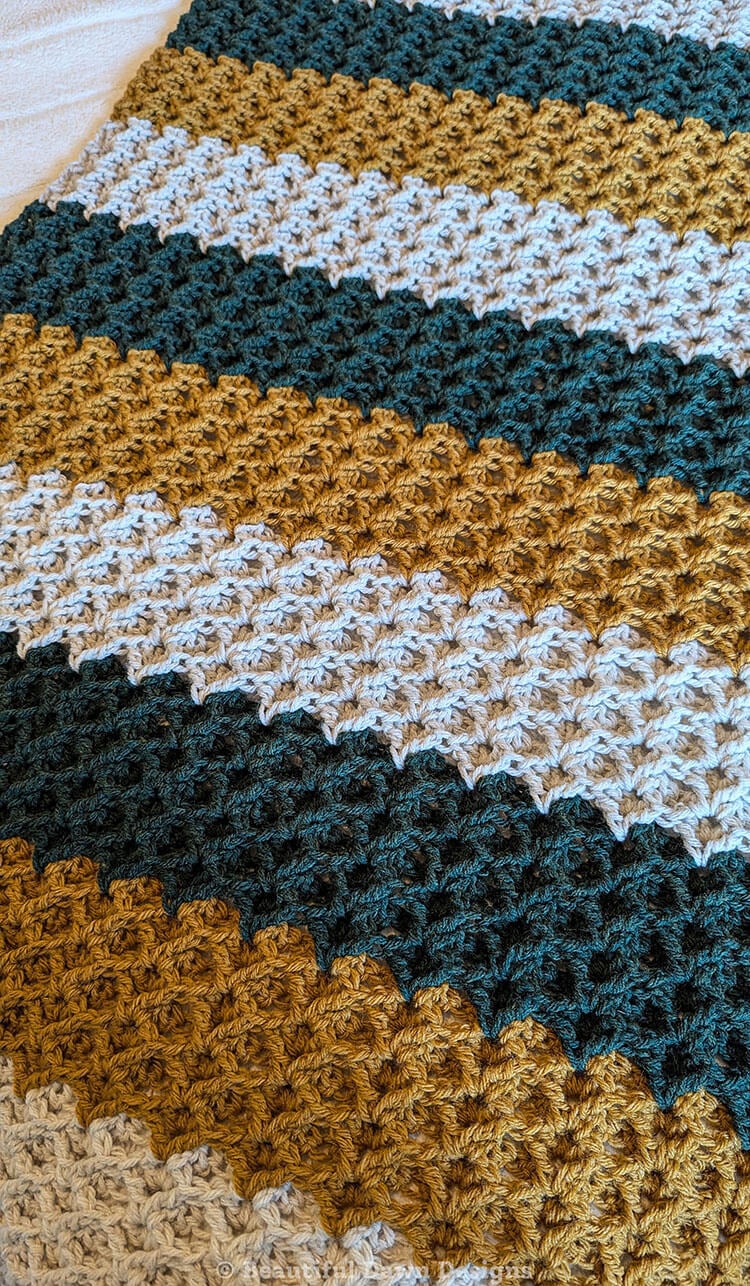
Upgrade to the Printable PDF + Video Tutorial! You can purchase the ad-free printable PDF from my shop.
3D Diamond Blanket Pattern
To begin, using Color A, ch 106
Row 1 (Color A): Sc in the 2nd ch from the hook and in each ch across. Ch 2 and turn. (105 sts)
Row 2: Dc in 1st st, skip next st, (2 dc, ch 2, 2 dc) in next st, *skip 3 sts, (2 dc, ch 2, 2 dc) in next st.* Repeat from * to * across the row until 2 sts remain, skip next st, dc in last st. Ch 2 and turn.
Row 3: Dc in 1st st, *tr in next hole below v-stitch, (dc, ch 2, dc) in ch 2 space, tr in same v-stitch hole 1 more time.* Repeat from * to * until you have worked the final tr, then dc in the last st. Ch 2 and turn.
Rows 4-8: Dc in 1st st, *tr in next hole below v-stitch, (dc, ch 2, dc) in ch 2 space, tr in same v-stitch hole 1 more time.* Repeat from * to * until you have worked the final tr, then dc in the last st. Ch 2 and turn.
Rows 9-16 (Color B): Dc in 1st st, *tr in next hole below v-stitch, (dc, ch 2, dc) in ch 2 space, tr in same v-stitch hole 1 more time.* Repeat from * to * until you have worked the final tr, then dc in the last st. Ch 2 and turn.
Rows 17-24 (Color C): Dc in 1st st, *tr in next hole below v-stitch, (dc, ch 2, dc) in ch 2 space, tr in same v-stitch hole 1 more time.* Repeat from * to * until you have worked the final tr, then dc in the last st. Ch 2 and turn.
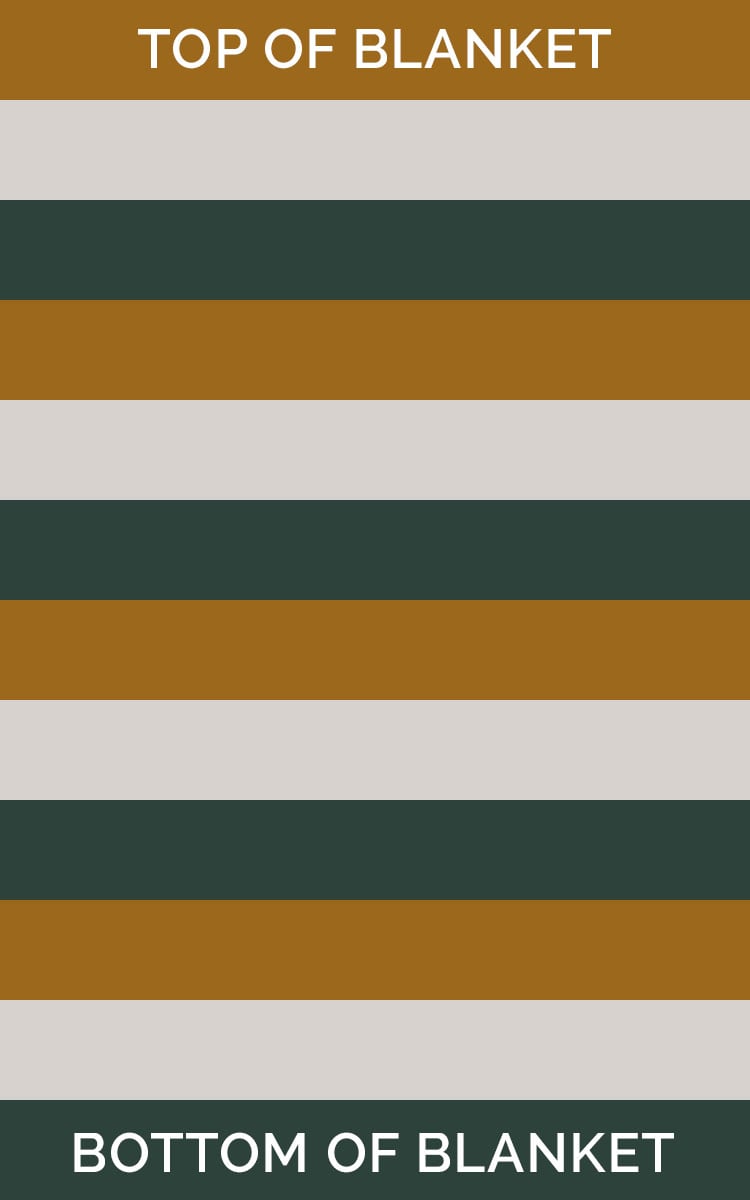
For the remainder of the blanket, you will Repeat Row 3, changing colors after you have worked 8 total rows of each color. So you will work 8 rows of Color A, 8 rows of Color B, and 8 rows of Color C, and repeat this until your blanket has a total of 4 blocks of each color.
Final Row: After finishing your final row, ch 1 and turn, then work 1 sc in each st and 2 sc in each ch 2 space across the row. This gives the blanket a neater edge. Fasten off and weave in ends.
More Posts You May Like: