This crochet beanie pattern offers a comfortable fit with excellent stretch. It includes four sizes (baby, toddler, child, and adult) so you can make one for everyone. Whether you’re heading out for a walk, running errands, or creating a thoughtful gift, this versatile beanie is sure to become a favorite.
You can find the free pattern below, or you can purchase the ad-free printable PDF from my shop.
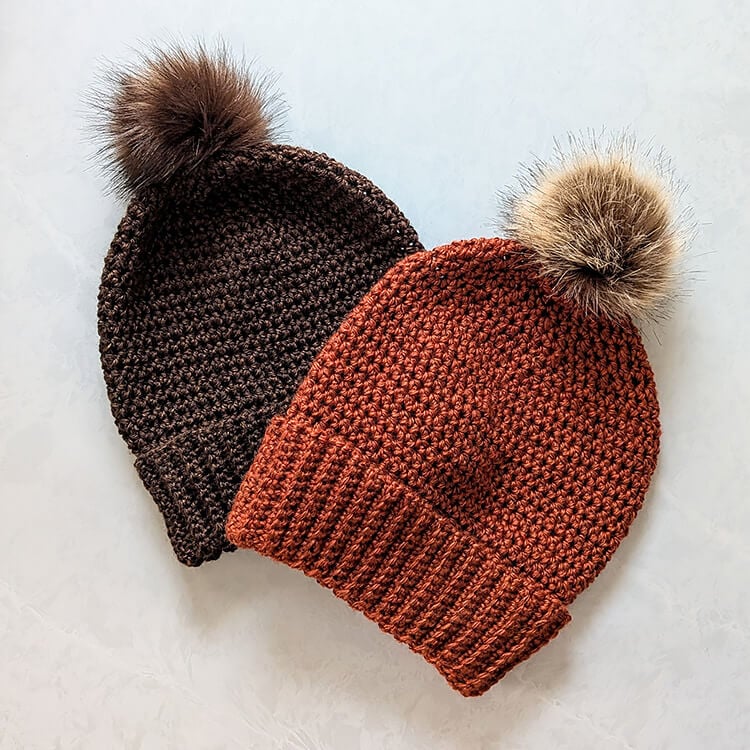
The Cascade Mountains are a familiar part of life in the Pacific Northwest. When I designed this beanie in shades of brown and burnt orange, the palette reminded me of the landscapes that make the Cascades so recognizable during the Autumn season. That’s how the Cascades Beanie got its name.
The stitch pattern is straightforward and perfect for beginners. I created this beanie to be a reliable go-to piece that you can toss on with a flannel, a jacket, or your favorite cozy layers. If you enjoy quick, functional patterns that also look polished, this one is a great fit.
This post may contain affiliate links.
Materials:
- 1 ball of Heartland Yarn 251yds #4 medium weight
- US size J 6.0 mm crochet hook
- Stitch marker
- Scissors
- Tapestry needle
- Pom pom (optional)
Sizes (approximate):
- Baby: Height including brim is 7 inches and fits a 13-15 inch head circumference.
- Toddler: Height including brim is 8 inches and fits a 16-18 inch head circumference.
- Child: Height including brim is 9 inches and fits a 19-20 inch head circumference.
- Adult: Height including brim is 10 inches and fits a 21-22 inch head circumference.
Follow the key throughout the pattern based on the size beanie you are crocheting: baby (toddler, child, adult)
Gauge: Body of hat is approximately 14 hdc sts and 11 rows for a 4in x 4in square. Brim of hat is approximately 8 sc sts and 8 rows for 2 inches.

Pattern Notes:
- Ch 1 does not count as a stitch.
- We’ll be working in continuous rounds. Unless mentioned specifically, do not join at the end of your rounds.
Abbreviations (US):
ch – chain
st(s) – stitch(es)
sc – single crochet
sc blo – single crochet back loop only
sl st – slip stitch
hdc – half double crochet
hdc2tog – half double crochet two together
Want to print the pattern? You can purchase the ad-free printable PDF from my shop.
Cascades Beanie Crochet Pattern
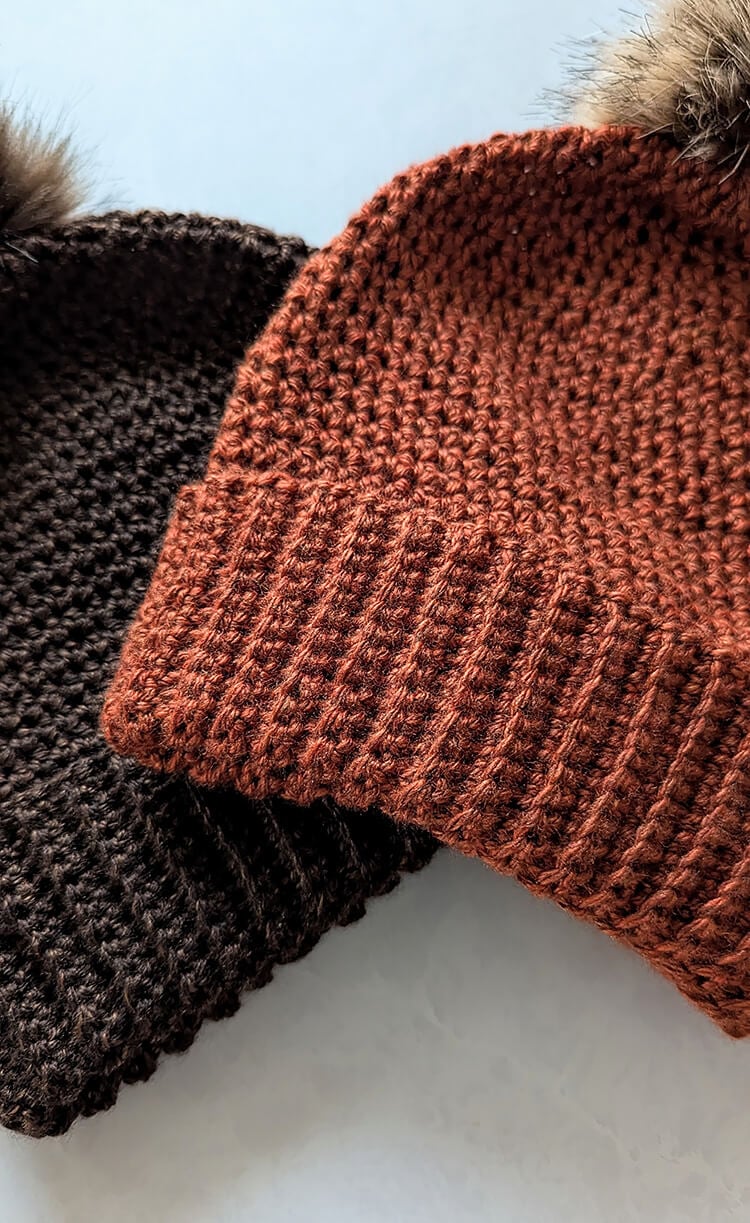
Double Brim
Row 1: Ch 19 (21, 23, 25) and work 1 sc in the 2nd ch from the hook and in each ch across. Ch 1 and turn. 18 (20, 22, 24) sts
Rows 2-48 (54, 60, 66): Work 1 sc blo in the 1st st and in each st across. Ch 1 and turn.
Fold the piece so that the short ends meet and slip stitch the last and first row together. You have now formed the brim. Don’t fasten off. We’re going to start the body of the hat by working half double crochet stitches along the top of brim.
Body of Hat
Round 1: Ch 1 and work 1 hdc into each st around the brim for a total of 48 (54, 60, 66) sts.
Remember to place your stitch marker in the 1st stitch of each round. This will help you keep track of when you’re starting a new round.
Rounds 2-6 (8, 10, 12): Work 1 hdc in each st around. 48 (54, 60, 66) st For a shorter beanie, you can work less rounds here.
We will now begin the decrease rounds.
Decrease Rounds
Round 1: *Hdc in 4 sts, hdc2tog over next 2 sts.* Repeat from * to * around. 40 (45, 50, 55) sts
Round 2: Hdc in each st around. 40 (45, 50, 55) sts
Round 3: *Hdc in 3 sts, hdc2tog over next 2 sts.* Repeat from * to * around. 32 (36, 40, 44) sts
Round 4: Hdc in each st around. 32 (36, 40, 44) sts
Round 5: *Hdc in 2 sts, hdc2tog over next 2 sts.* Repeat from * to * around. 24 (27, 30, 33) sts
Round 6: Hdc in each st around. 24 (27, 30, 33) sts
Round 7: *Hdc in st, hdc2tog over next 2 sts.* Repeat from * to * around. 16 (18, 20, 22) sts
Round 8: Hdc2tog around. 8 (9, 10, 11) sts
Close the Hole
Fasten off the yarn, leaving a long tail (about 12 inches) for sewing. After finishing the last round, there will be a hole at the top of your beanie. To close the hole, thread your yarn tail onto a tapestry needle and run it through each of the sts around the opening.
Once you make your way back to where you started, pull the yarn to close the hole. If needed, you can continue to weave the yarn through to secure the top of the beanie. Fasten off and weave in your ends.
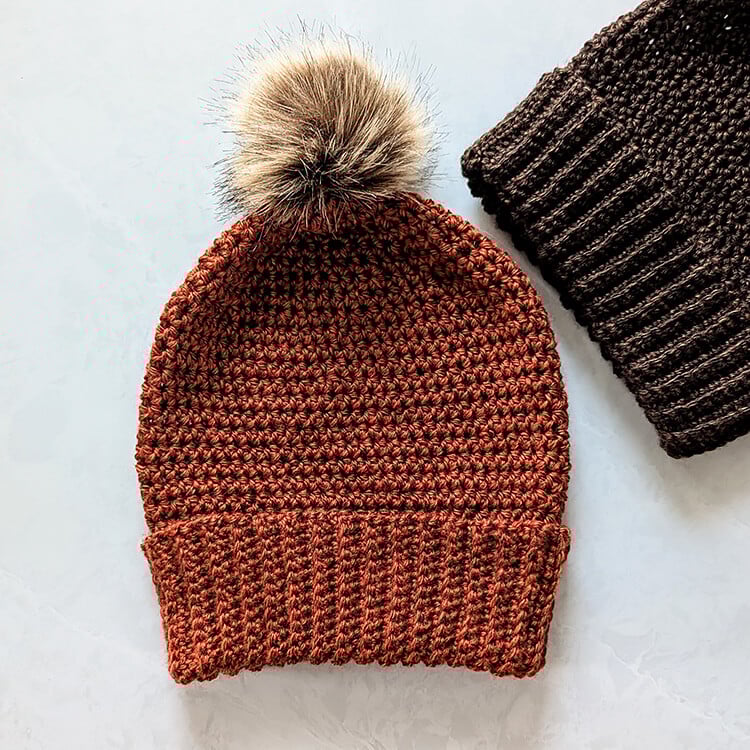
I’ve designed this beanie to have minimal bunching at the top which allows you to wear it with or without a pom pom. I purchase my pom poms with an elastic loop to make attaching them quick and easy.
I hope you enjoy wearing your beanie during the colder months!
More Posts You May Like:
- Granny Shawl Free Crochet Pattern (Written For Beginners)
- Easy 20-Minute Cup Cozy Free Crochet Pattern
- Quick and Easy Coasters Free Crochet Pattern
