
I’ve always had a soft spot for the granny square because it was the first thing I ever learned how to crochet. The giant granny square blanket is one of my favorite projects, and I’ve made more of them than I can count over the years.
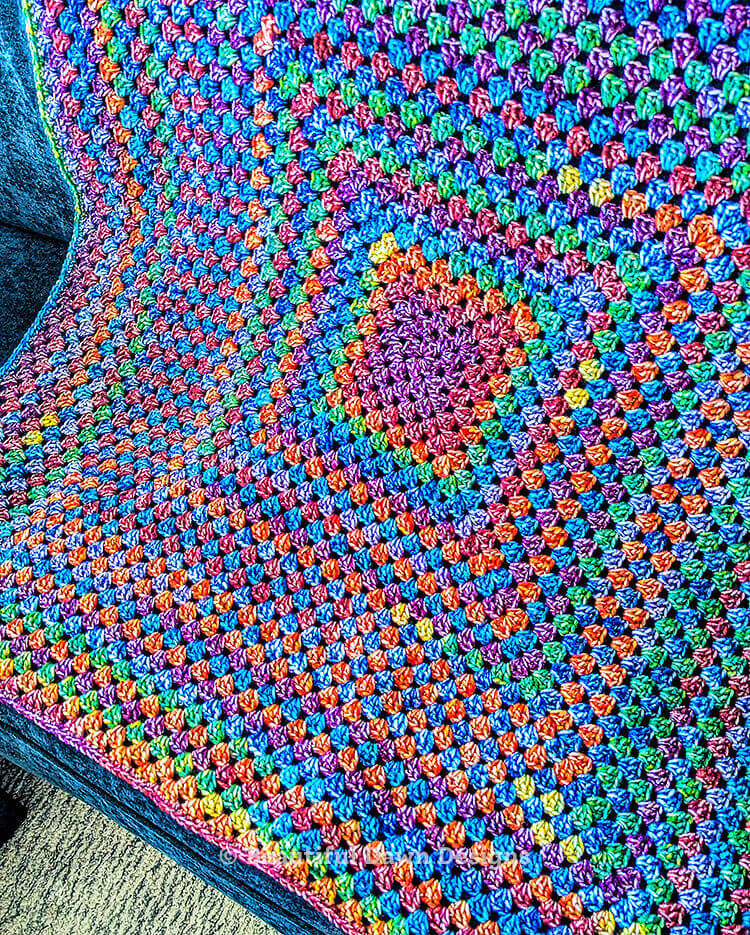
You can find the free pattern below, or you can purchase the ad-free printable PDF from my shop.
If you’ve never made a giant granny square before, you’re in for a treat. I find them fun and relaxing to work on, and they’re the kind of project you can easily pick up and put down.
Once you get through the first few rounds and find the rhythm, this blanket becomes very easy to crochet. It also works up quickly, which makes it a great option for gifts. I hope you enjoy making this blanket as much as I have over the years!
Blanket Sizing and Estimated Yarn Yardage
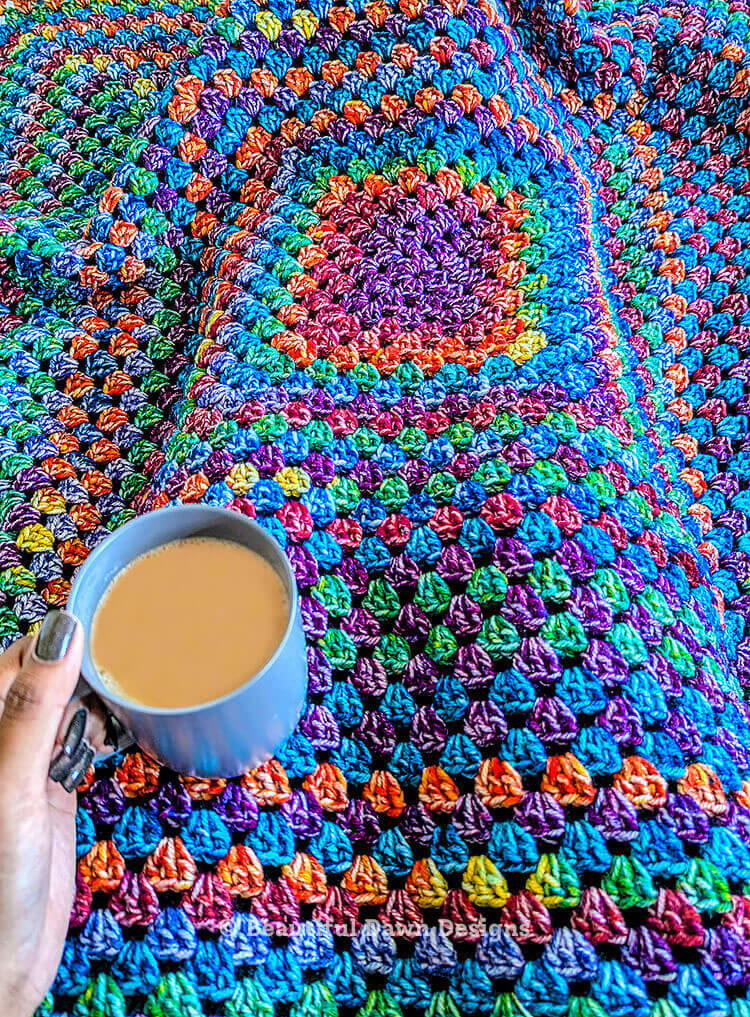
The Giant Granny Square blanket is 40” x 40” (Lapghan Size). Below I’ve included a guide to assist you in making your blanket in 4 different sizes.
- Baby Blanket: 36 x 36 inches (1,060yds)
- Lapghan: 40 x 40 inches (1,305yds)
- Throw Blanket: 50 x 50 inches (2,040yds)
- Larger Throw Blanket: 60 x 60 inches (2,940yds)
Materials:
- Medium weight yarn. I used 1305yds of Red Heart Super Saver Bitty Stripes Yarn 515yds.
- US size I 5.5 mm crochet hook
- Measuring tape (optional)
- Scissors
- Tapestry needle
Size (approximate): 40” x 40”
Gauge (4in x 4in): Not important for this pattern, but my blanket is 4 dc clusters and 7 rounds.
Pattern Notes:
- We’ll be working in continuous rounds.
- The ch 3 counts as a stitch throughout the pattern.
Abbreviations (US):
ch – chain
st(s) – stitch(es)
sl st – slip stitch
dc – double crochet
sc – single crochet
[ ] – brackets: instructions should be worked the number of times mentioned in the pattern
( ) – parenthesis: stitches are all worked in one stitch or space
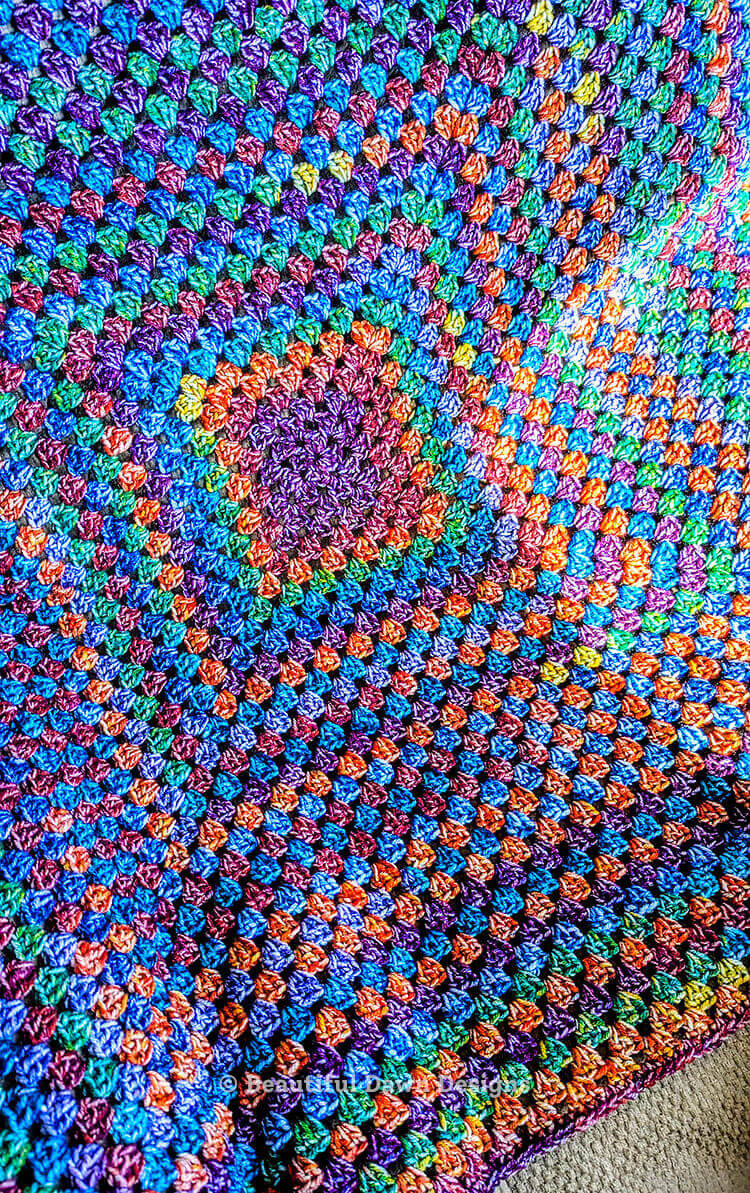
Granny Square Video Tutorial
Upgrade to the Printable PDF! You can purchase the ad-free printable PDF from my shop.
Giant Granny Square Blanket Crochet Pattern
Ch 5 and join with sl st to form a ring.
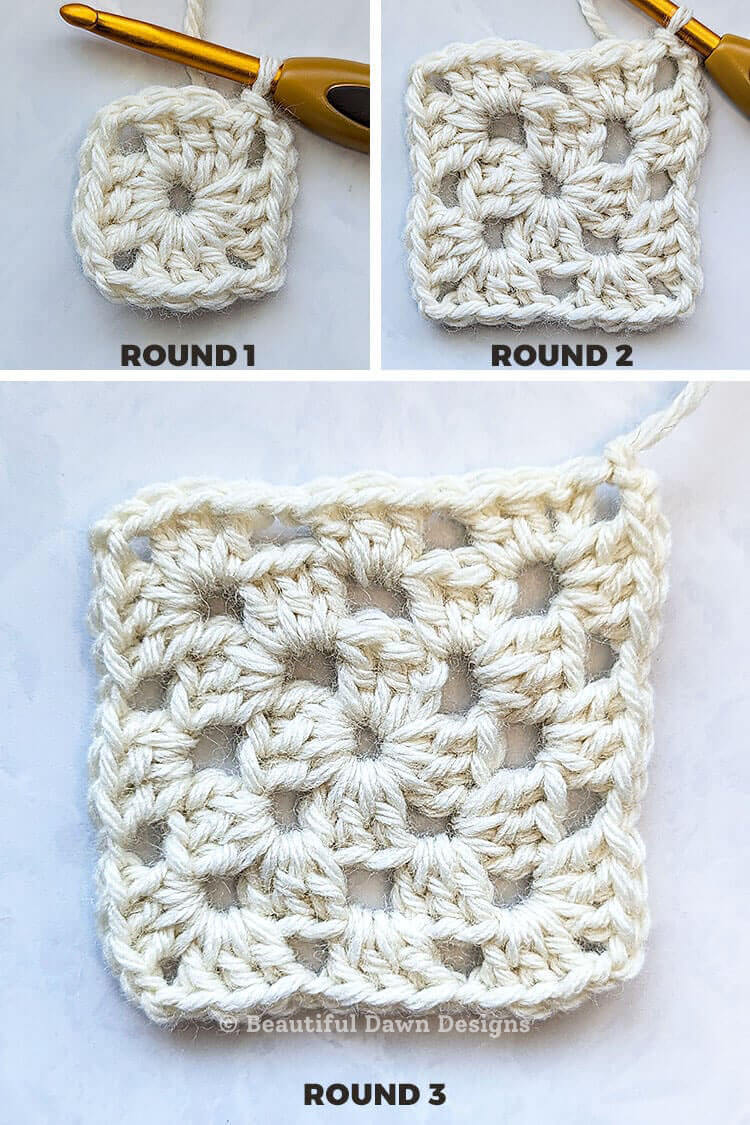
Round 1: Ch 3 (counts as dc now and throughout pattern), work 2 dc in ring, ch 2 and in ring work (3 dc, ch 2) 3 times. Join with sl st to top of ch 3.
Round 1 Notes:
- The ch 2 forms the corners of the granny square.
- Once the round is complete, you should have 4 dc clusters and 4 corners.
Round 2: Ch 3, 2 dc in same space. [Ch 1, in next corner space (3 dc, ch 2, 3 dc)] 3 times. Ch 1 and in starting corner (3 dc, ch 2) and sl st to top of ch 3.
Round 3 (Repeat Round): Ch 3, 2 dc in same space. [Ch 1, 3 dc in next ch 1 space, ch 1, then (3 dc, ch 2, 3 dc) in corner space] 3 times. Ch 1, 3 dc into next ch 1 space. Ch 1 and in starting corner (3 dc, ch 2) and sl st to top of ch 3.
Repeat Round 3 until your blanket reaches 40” x 40” or your desired size.
Round 3 Notes:
- The ch 1 space is the space between the dc clusters. Each round adds more ch 1 spaces. As your blanket gets larger, you will work 3 dc into each ch 1 space.
Add a Border
Keeping the yarn attached, after completing the starting corner, ch 1 and work 2 sc in the same space, work 1 sc in each st and space around the blanket. Whenever you reach a corner space, (2 sc, ch 1, 2 sc) in the corner. Once you make your back to the starting corner, work 2 sc, ch 1, and sl st to the 1st sc. Fasten off and weave in ends.
More Posts You May Like: