
The granny stitch was one of the very first stitches I learned when I started crocheting, so it has always had a special place in my heart. There’s something comforting about coming back to a stitch I’ve loved from the beginning of my crochet journey.
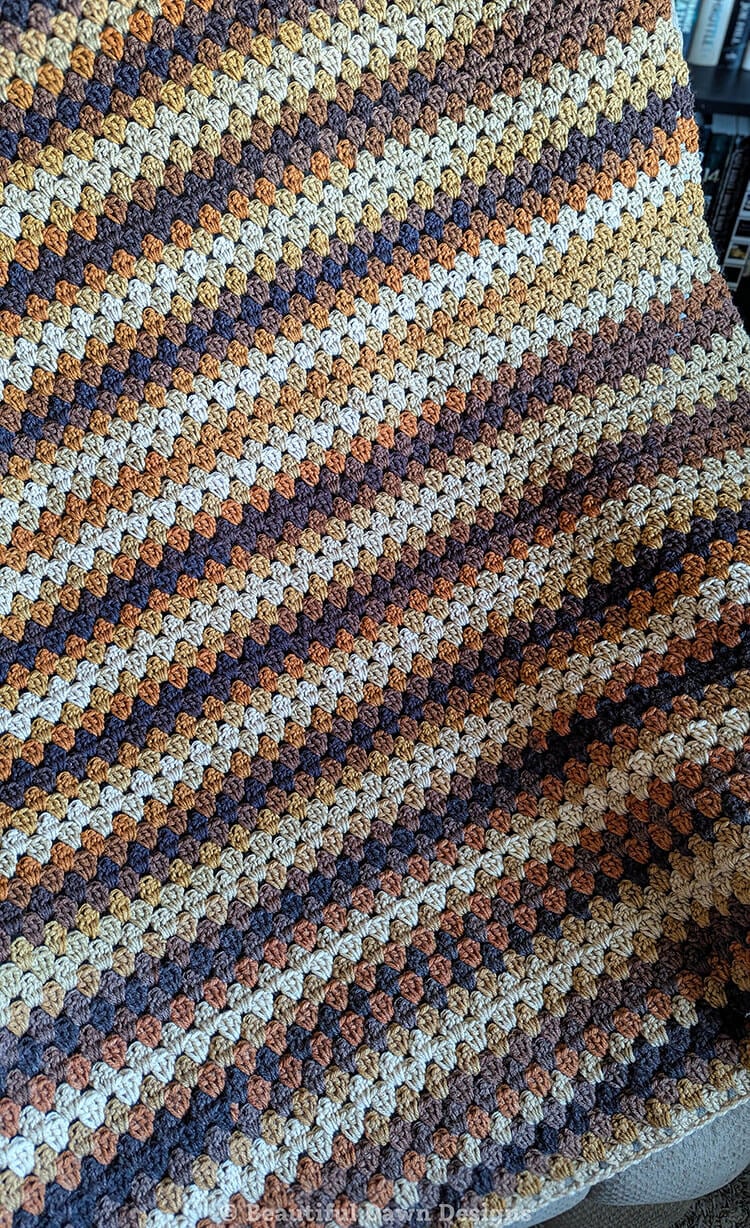
You can find the free pattern below, or you can purchase the ad-free printable PDF from my shop.
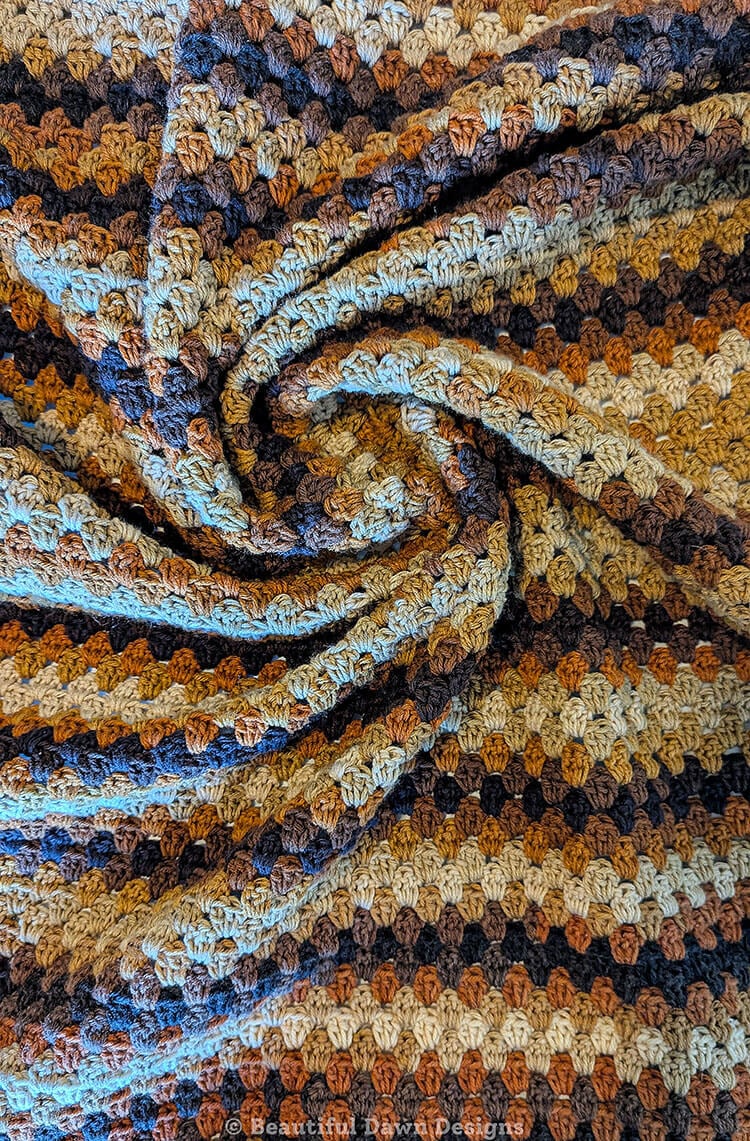
For this granny stripe blanket, I used Red Heart Super Saver Jumbo Stripes yarn in the color Latte, and I love the warm, retro feel it gives the finished project. The color changes paired with the granny stitch reminds me of cozy vintage blankets, which is how this Vintage Granny Stripe Blanket got its name.
If you’ve been wanting to try the granny stitch but have felt a little intimidated, I hope this pattern changes your mind. Once you crochet a few rows, you’ll notice the repeats are easy to remember, making it the perfect project to work on while watching TV or relaxing after a long day.
I always appreciate having a pattern I can pick up without constantly checking the instructions, and this blanket is exactly that. If you’re ready to make one for yourself, keep reading for the free pattern.
This post may contain affiliate links.
Vintage Granny Stripe Blanket Sizing Notes
The Vintage Granny Stripe Blanket pattern includes two sizes: 36” x 48” (Lapghan Size) and 48” x 60” (Throw Size). Below I’ve included a blanket sizing guide to assist you in finding the right size for your blanket.
Blanket Sizing Guide
- Baby Blanket: 36 x 36 inches
- Toddler Blanket: 40 x 60 inches
- Lapghan: 36 x 48 inches
- Throw Blanket: 48 x 60 inches
- Twin Bed: 65 x 90 inches
- Double Bed: 84 x 90 inches
Materials:
- Red Heart Super Saver Jumbo Stripes 283yds #4 medium weight yarn. I used the color Latte. Lapghan Size: 4 skeins and Throw Size: 6 skeins.
- US size J 6.0 mm crochet hook and a K 6.5 mm crochet hook. The K hook is optional for the foundation row. *See pattern notes for more details.*
- Stitch markers (optional)
- Scissors
- Measuring tape
- Tapestry needle
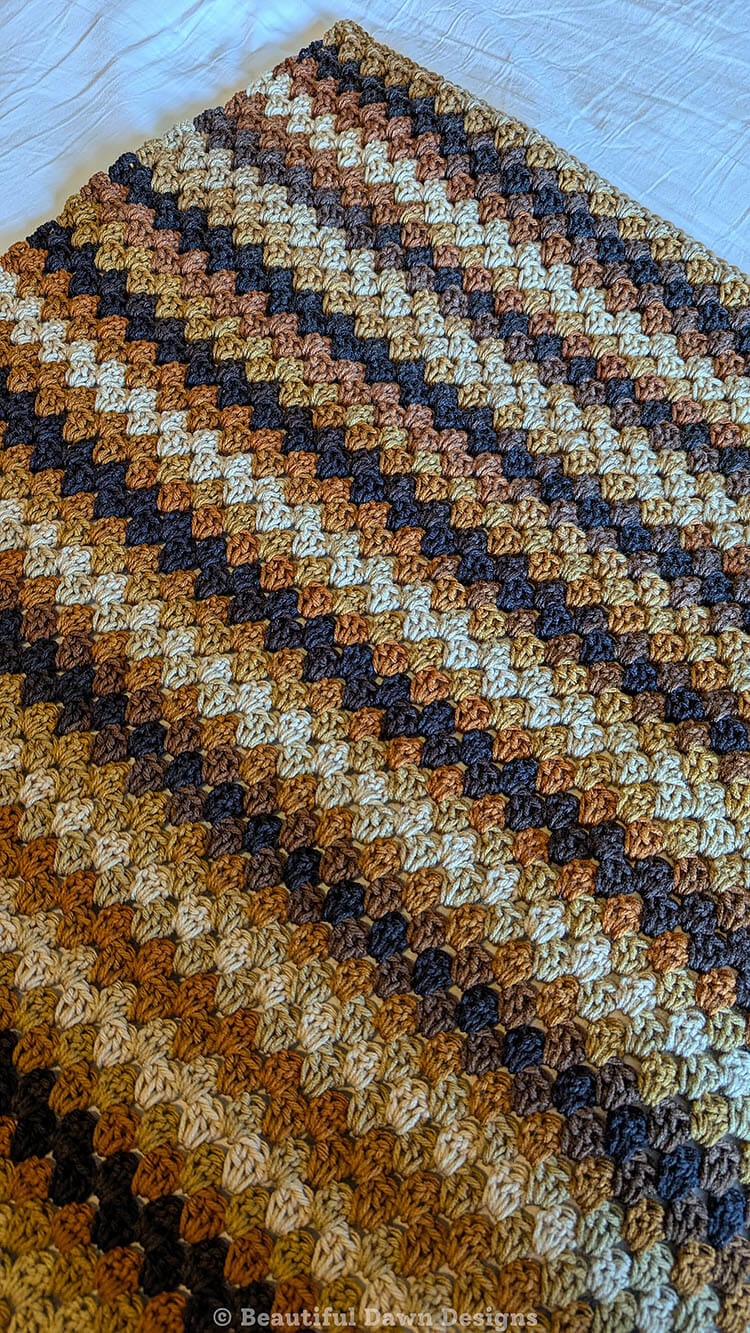
Sizes (approximate): 36” x 48” (Lapghan Size) and 48” x 60” (Throw Size)
Follow the key throughout the pattern based on the size blanket you are crocheting: (Lapghan, Throw)
Size Adjustment: To adjust the size of your blanket, start with a longer or shorter chain. The pattern has a chain multiple of 3 plus 1 stitch. If you want to adjust the size of your blanket, chain in multiples of 3 and add 1 stitch to that. For example, if you were to chain 18, you would then add 1 stitch for a total of 19.
Gauge (4in x 4in): Approximately 4 dc clusters and 4 rows
Pattern Notes:
- We’re using a larger hook size (K) for the foundation row to avoid having a tight foundation row. If you don’t want to go up a hook size, try to crochet your foundation row loosely.
- The chain 3 counts as a stitch.
- A “dc cluster” is a group of 3 dc stitches.
- I highly recommend making a practice swatch to get the hang of the pattern before starting your blanket. For your swatch, ch 19 and follow the pattern as written.
- If you have trouble identifying the first or last stitch of the row, use stitch markers to help you keep track.
Abbreviations (US):
ch – chain
st(s) – stitch(es)
sk – skip
dc – double crochet
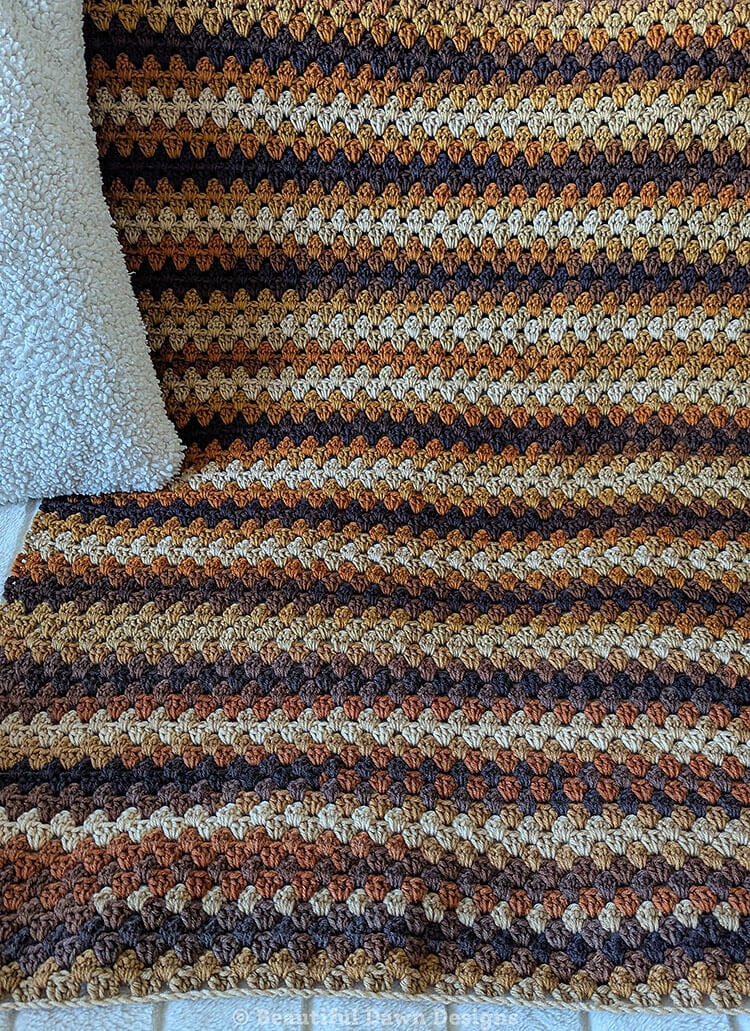
Granny Stripe Blanket Video Tutorial
Upgrade to the Printable PDF! You can purchase the ad-free printable PDF from my shop.
Vintage Granny Stripe Blanket Pattern
To begin, using the K hook or crocheting loosely with the J hook ch (109, 145)
Row 1: Work 1 dc in 4th ch from hook, *sk 2 ch, in 3rd ch work 3 dc (all in same ch).* Repeat from * to * across the row until 3 ch remain, then sk 2 ch, and work 2 dc in last ch. Ch 3 and turn. (106, 142 sts)
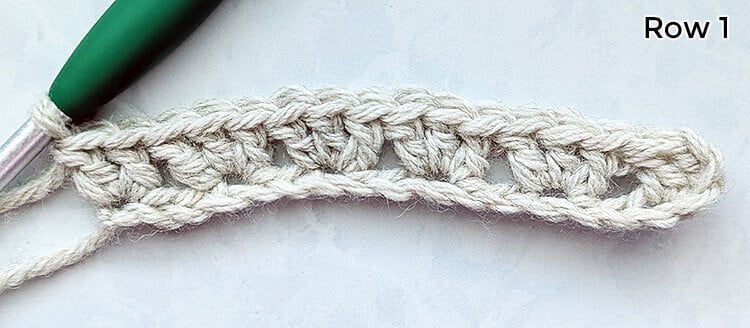
** For the remainder of the blanket we will be using the J hook.**
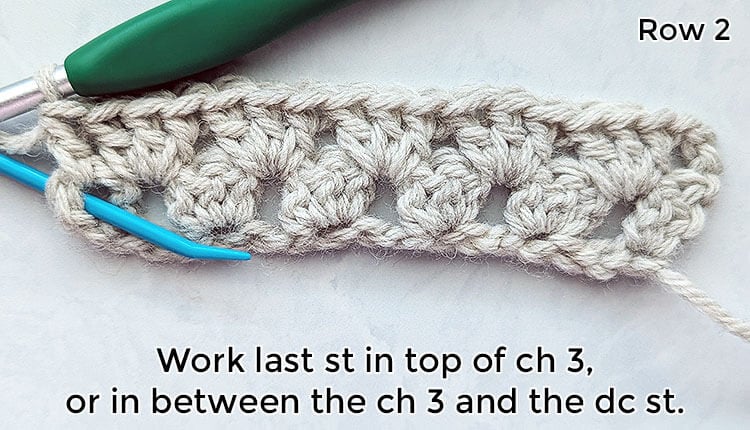
Row 2: In 1st space (space between the 2 dc sts, and the dc cluster), work 3 dc. Work 3 dc into each space across the row. After working into the final space, dc in the top of ch 3 from previous row. (Alternatively, you can work this final st in between the ch 3 and the dc st. This is my preferred way.) Ch 3 and turn.
Row 3: Work 1 dc in the 1st st, then work 3 dc into each space across the row until 1 dc cluster remains, then you will work 2 dc the the last space (between the dc cluster and the ch 3). Ch 3 and turn.
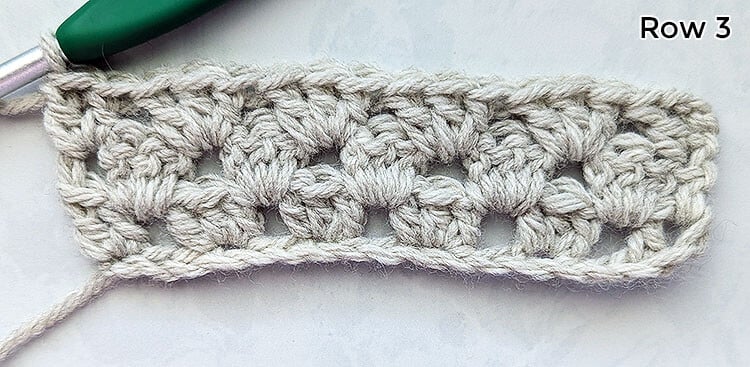
Repeat rows 2 and 3 in that order until your blanket reaches 48” for a lapghan and 60” for a throw blanket. Or until the blanket reaches your desired length. Fasten off and weave in the ends.
More Posts You May Like: