
If you’ve never worked the bean stitch before (and even if you have), you’re going to have a fun time with this Bean Stitch Crochet Blanket Pattern.
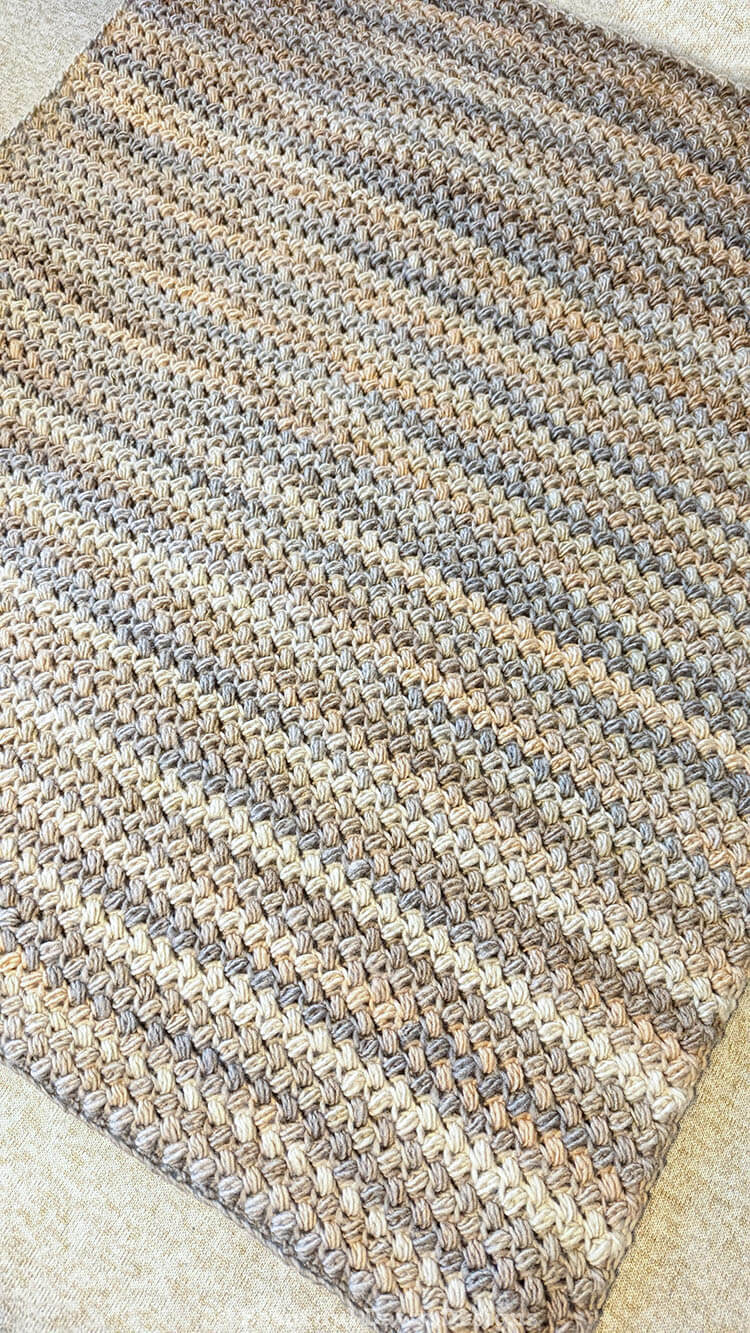
You can find the free pattern below, or you can purchase the ad-free printable PDF from my shop.
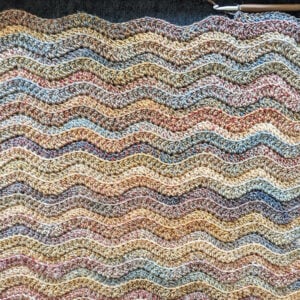
The bean stitch creates a beautiful texture that makes even a simple blanket look a little more interesting. It’s also a fun stitch to learn if you’re looking to try something different.
The stitch might take a little practice at first, but once you get the hang of it, it’s easy to find your rhythm. I think you’ll really enjoy watching this blanket come together, especially as the textured rows start to take shape.
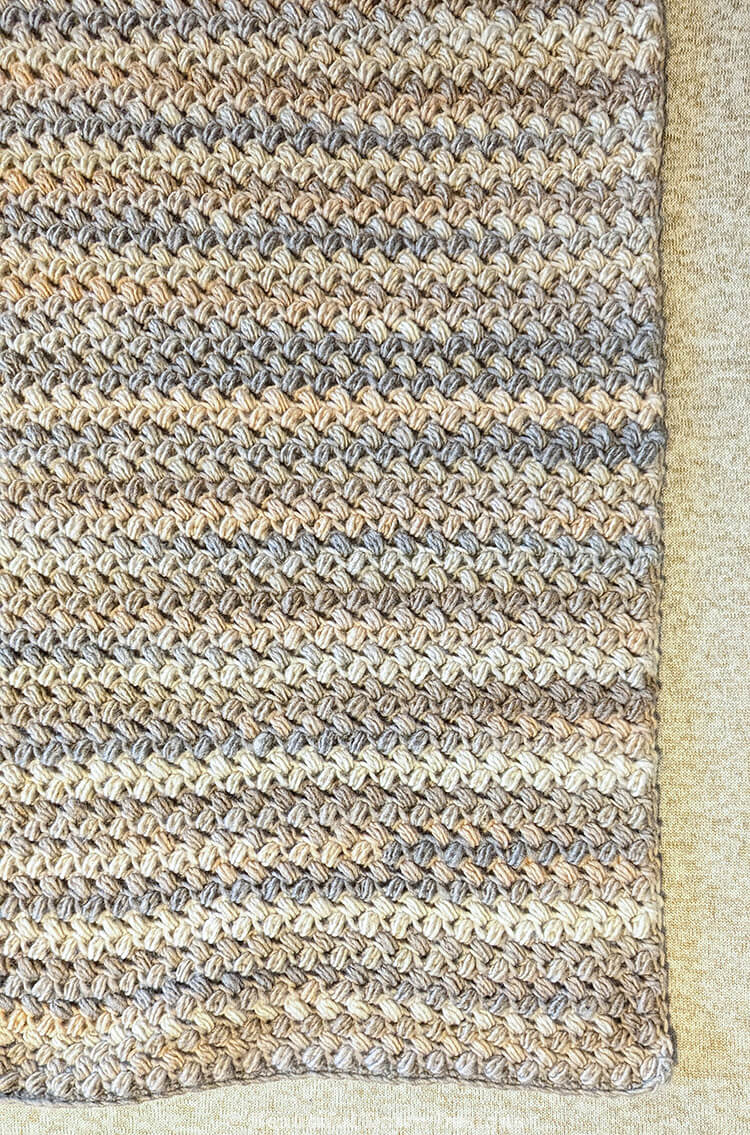
Bean Stitch Blanket Sizing Notes
The Bean Stitch blanket pattern includes two sizes: 36” x 48” (Lapghan Size) and 48” x 60” (Throw Size). You can easily make it as big or small as you want. Just be sure to chain an even number of chains until you reach the desired width of your blanket, then follow the crochet pattern until your blanket is the length you want.
Below I’ve included a blanket sizing guide to assist you in finding the right size for your blanket.
Blanket Sizing Guide
- Baby Blanket: 36 x 36 inches
- Toddler Blanket: 40 x 60 inches
- Lapghan: 36 x 48 inches
- Throw Blanket: 48 x 60 inches
- Twin Bed: 65 x 90 inches
- Double Bed: 84 x 90 inches
Materials:
- Caron Macchiato Cakes 481yds #5 Bulky weight yarn. Lapghan Size: 4 skeins and Throw Size: 6 skeins
- 7.0 mm crochet hook
- Stitch markers (optional)
- Scissors
- Tapestry needle
Sizes (approximate): 36” x 48” (Lapghan Size) and 48” x 60” (Throw Size)
Follow the key throughout the pattern based on the size blanket you are crocheting: (Lapghan, Throw)
Gauge (4in x 4in): Approximately 5 bean sts and 10 rows
Size Adjustment: To adjust the size of your blanket, start with a longer or shorter chain. The pattern requires an even number of chains. Follow the crochet pattern until your blanket is the length you want.
Make sure you keep your yarn needs in mind when adjusting the size of your blanket.
Pattern Notes:
- The ch 1 turning chain will be worked into at the end of the rows.
- If you have trouble identifying the first or last stitch of the row, use stitch markers to help you keep track.
Abbreviations (US):
ch – chain
st(s) – stitch(es)
sk st – skip stitch
sc – single crochet
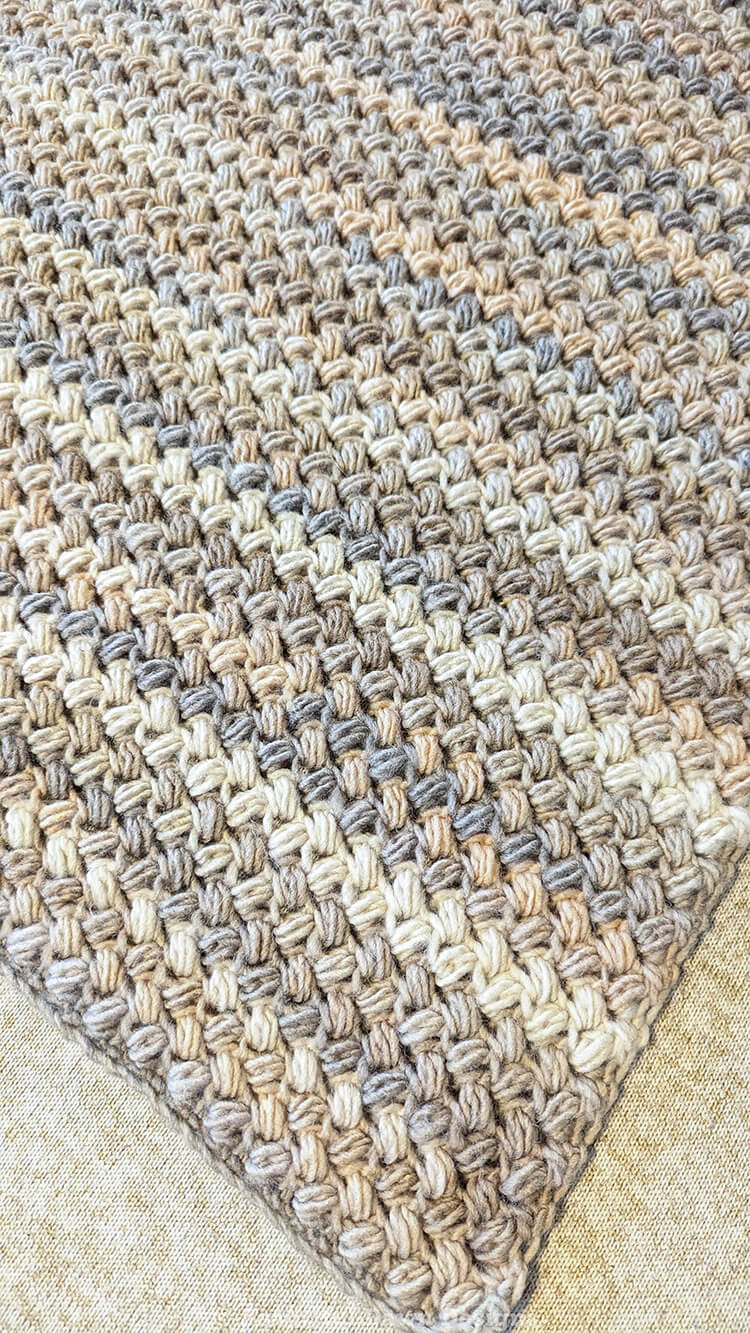
How to Work the Bean Stitch
Step 1: Insert your hook into the next stitch, yarn over, and pull up a loop. You should have 2 loops on your hook.
Step 2: Yarn over, insert your hook into the same stitch, and pull up another loop. You should now have 4 loops on your hook.
Step 3: Yarn over, insert your hook into the same stitch again, and pull up another loop. You should now have 6 loops on your hook.
Step 4: Yarn over and pull through all 6 loops on your hook.
Step 5: Chain 1 to close and secure the bean stitch.
More Crochet Blanket Patterns

Upgrade to the Printable PDF! You can purchase the ad-free printable PDF from my shop.
Bean Stitch Blanket Crochet Pattern
To begin ch (92, 122)
Row 1: Work 1 sc in the 2nd ch from the hook and in each ch across the row. Ch 1 and turn. (91, 121 sts)
Row 2: Sc in 1st st, sk st, bean st in next st, *sk st, bean st in next st.* Repeat from * to * across the row until 2 sts remain. Sk st, sc in final st. Ch 1 and turn.
Row 3: Sc in 1st st, sk st, bean st in next st, *sk st, bean st in next st.* Repeat from * to * across the row until 1 st remains. Sk st, sc in ch 1 turning ch. Ch 1 and turn.
Repeat Row 3 until your blanket reaches 48” or 60” or your desired length. Fasten off and weave in ends.
More Posts You May Like: