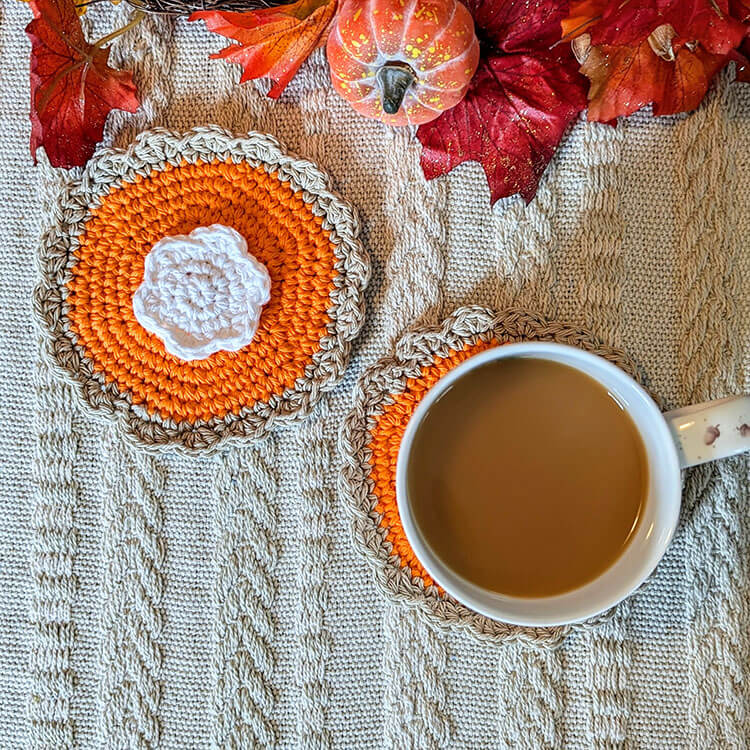
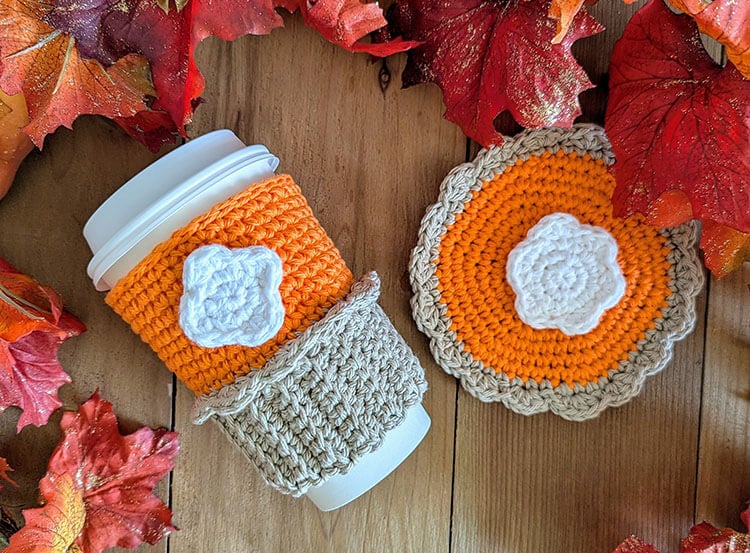
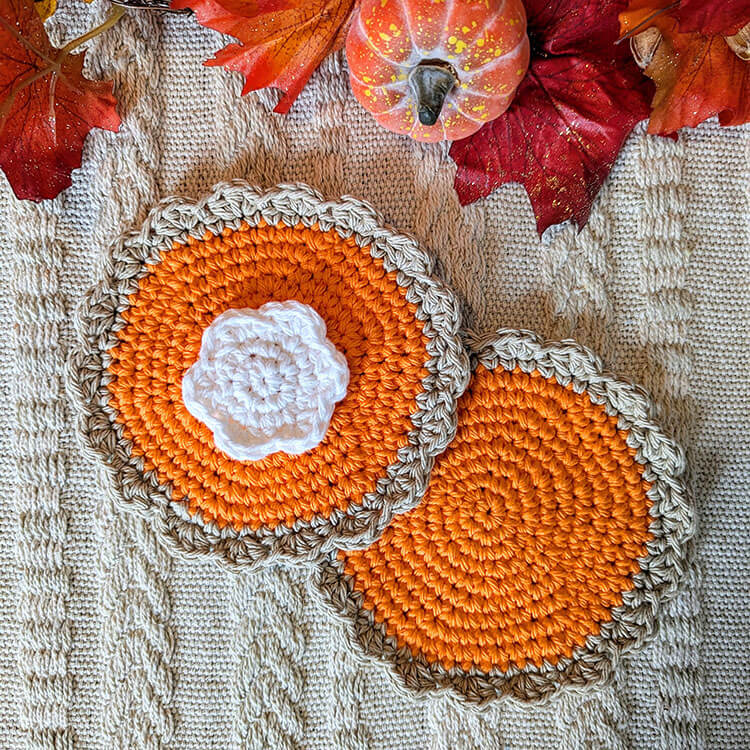
Pumpkin season is the perfect time to make this Pumpkin Pie Crochet Coaster. This coaster is a great way to add a handmade touch to your fall decor.
You can find the free pattern below, or you can purchase the ad-free printable PDF from my shop.
This pattern is beginner friendly and works up fast; you can easily make a couple of these in an hour or so, which makes them great for last-minute gifts or stocking up for craft fairs.
This post may contain affiliate links.
Materials:
- #4 medium weight cotton yarn (I used Classic Cotton Yarn by Loops and Threads) in the colors orange, tan, and white.
- US size G 4.0 mm crochet hook
- Stitch marker
- Scissors
- Tapestry needle
Size (approximate): 5.5”
Pattern Notes:
- We’ll be working in continuous rounds. Unless mentioned specifically, do not join at the end of your rounds.
- The whipped topping is optional. Depending on the mug being used, the topping may be to high for the mug to sit on the coaster securely.
Abbreviations (US):
ch – chain
st(s) – stitch(es)
sl st – slip stitch
sc – single crochet
inc – increase (work 2 stitches in the same stitch)
hdc – half double crochet
Want to print the pattern? You can purchase the ad-free printable PDF from my shop.
Pumpkin Pie Coaster Crochet Pattern
Make the Pie Filling (using the color Orange)
To begin Ch 2
Round 1: Place 6 sc into the 2nd chain from the hook. (6 sts)
Remember to place your stitch marker in the 1st stitch of each round. This will help you keep track of when you’re starting a new round.
Round 2: Inc in each stitch around. (12 sts)
Round 3: *Inc, sc in next st.* Repeat from * to * around. (18 sts)
Round 4: *Inc, sc in next 2 sts.* Repeat from * to * around. (24 sts)
Round 5: *Inc, sc in next 3 sts.* Repeat from * to * around. (30 sts)
Round 6: *Inc, sc in next 4 sts.* Repeat from * to * around. (36 sts)
Round 7: *Inc, sc in next 5 sts.* Repeat from * to * around. (42 sts)
Round 8: *Inc, sc in next 6 sts.* Repeat from * to * around. (48 sts)
Round 9: *Inc, sc in next 7 sts.* Repeat from * to * around. (54 sts)
Sl st to the 1st st, fasten off and weave in the ends.
Make the Crust (using the color Tan)
Round 1: Attach the yarn to the pie filling, ch 1 and sc in the same st, work 1 sc in each st around. (54 sts)
Sl st to the first st. Don’t fasten off. Continue on to round 2, where we’ll make the crust edge.
Round 2: Ch 1 and sc in same st, *3 hdc in next st, skip the next st, sl st in next st*. Repeat from * to * around. When you have 1 st remaining, skip that stitch, and sl st to the ch 1. Fasten off and weave in ends.
Make the Whipped Topping (using the color White) – Optional
To begin ch 2
Round 1: Place 6 sc into the 2nd chain from the hook. (6 sts)
Remember to place your stitch marker in the 1st stitch of each round. This will help you keep track of when you’re starting a new round.
Round 2: Inc in each stitch around. (12 sts)
Round 3: *Inc, sc in next st.* Repeat from * to * around. (18 sts)
Sl st to the first st.
Round 4: Ch 1 and sc in same st, *3 hdc in next st, skip the next st, sl st in next st*. Repeat from * to * around. When you have 1 st remaining, skip that stitch, and sl st to the ch 1. Fasten off and leave a long tail for sewing.
Secure the whipped topping to the center of the pie filling.
More Posts You May Like:
